Paypal
PayPal is an online payment system that makes paying for things online and sending and receiving money safe and secure.
Cost
Paypal has different rates for different kinds of transactions. For credit card transactions it charges between 2.59% to 3.5% plus $0.49 fixed (at the time of writing).(see: https://www.paypal.com/en/webapps/mpp/paypal-fees).
Configuring Paypal
Compared to other payment processing providers, Paypal is one easiest to configure. Essentially you have to create an account, provide personal information like address, bank account etc. and when approved use the API keys to accept payment.
- Create a new account at Paypal.
- During creation of the account, you will be asked to provide your legal business information. Paypal will verify your personal and business information before starting your account.
- Upon verification and account creation, the payments you receive from your customers will be deposited to your paypal account. You can transfer it to your bank when needed.
- When the account is created and approved, login to paypal to get
your API keys:
- Login to https://developer.paypal.com with the user id and password you just created.
- Make sure that the Sandbox option is selected.
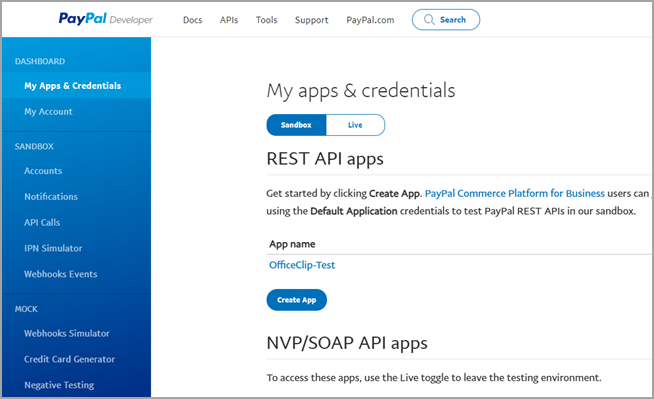
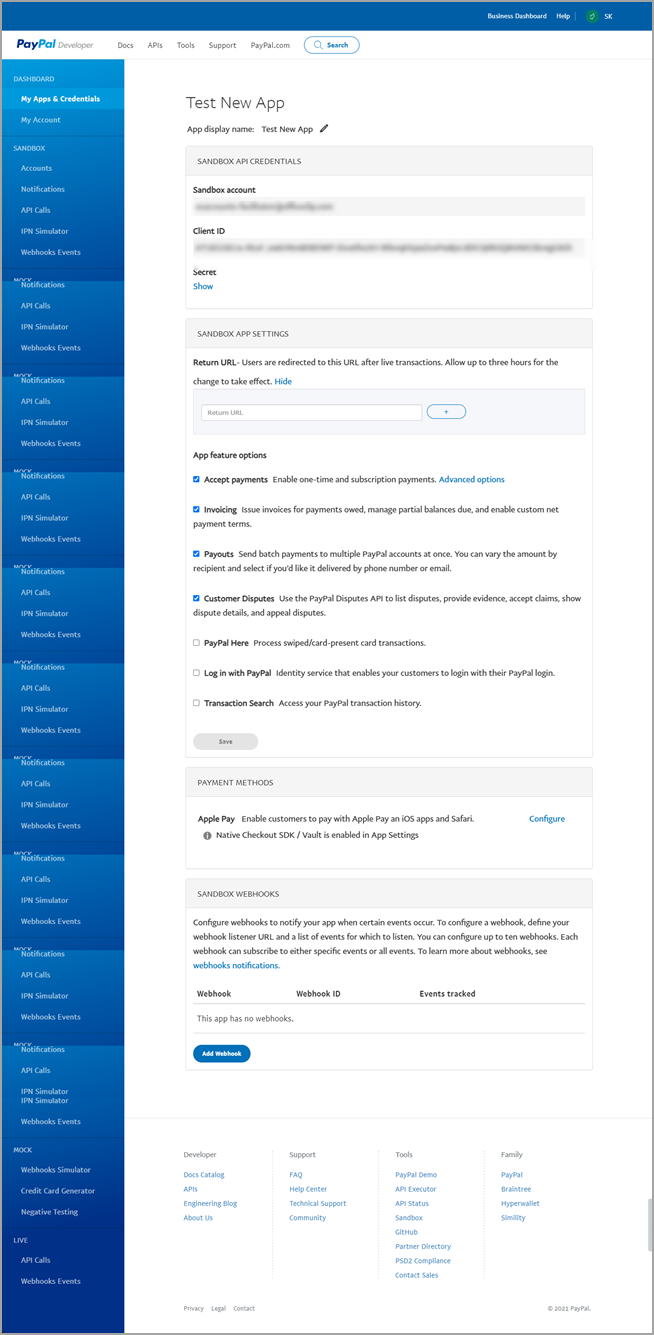
- Click on Create App button to create an App.
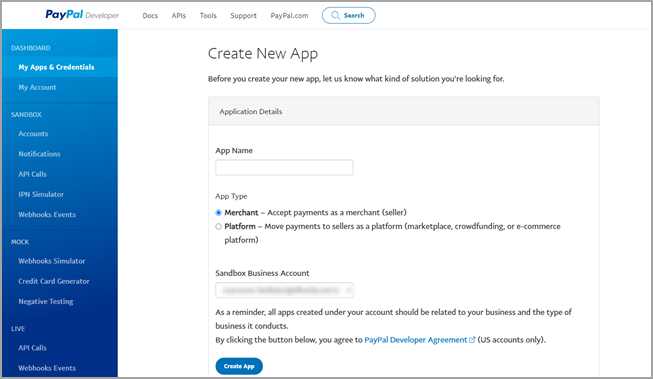
- After creating the App you will be redirected to a screen that
will have your sandbox keys. Keep this browser window open as we
will enter these information in OfficeClip Integration screen in
the next step
Setting up Paypal with OfficeClp
Now we will setup the OfficeClip integration with Paypal
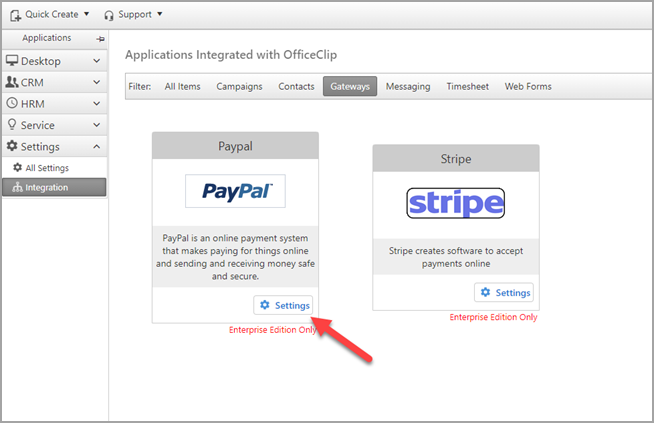
- Click on Settings > Integration, then click on Gateways,
Finally click on Settings under Paypal
- Click on install
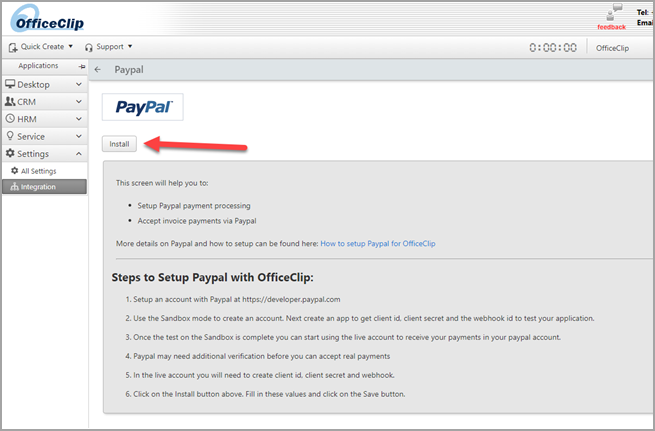
- Bring up the Paypal App window on the browser as explained in the previous section.
- Click on the Show link under the Secret to show your secret code.
Now copy the client id and Secret to the OfficeClip screen as shown in
the figure below.
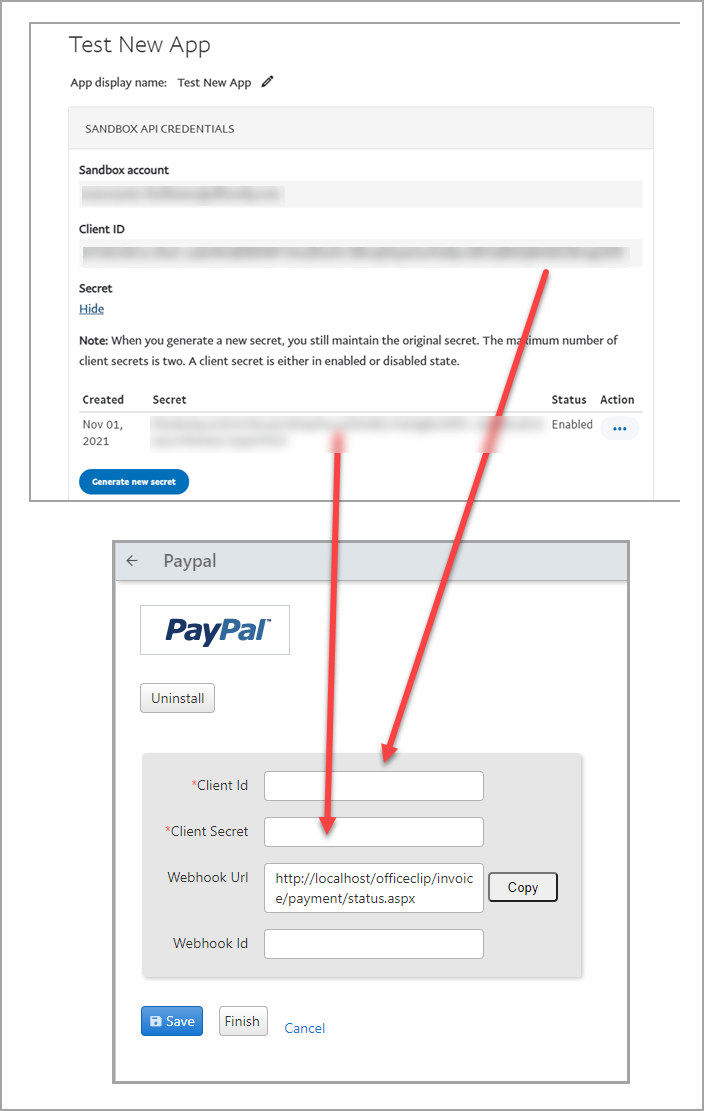
- Go to the Paypal App window, scroll down and click on Add Webhook.
Next copy the Webhook Url from the OfficeClip screen to the Paypal api
screen. Important: The webhook url should be a valid website that can be reached from outside and it should be SSL (https).
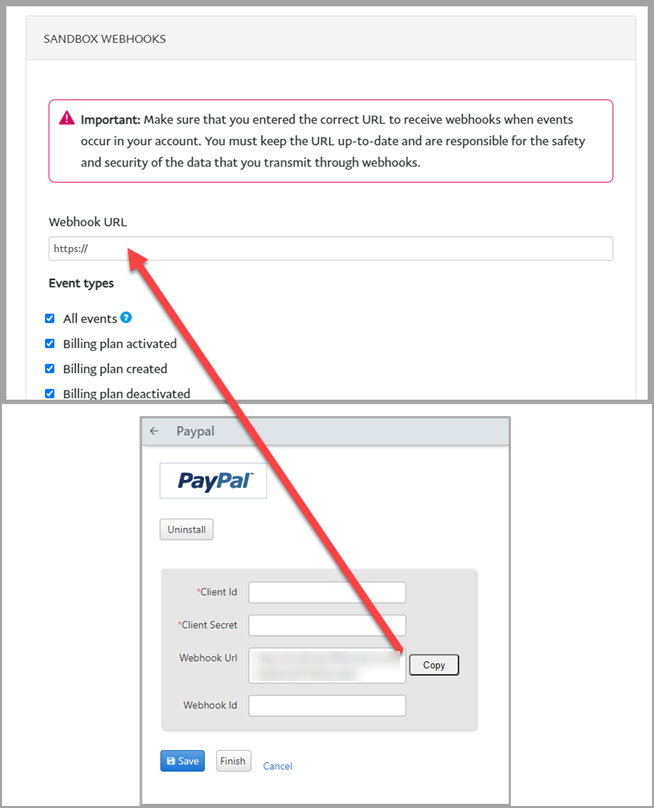
- On the Paypal App screen, click on Select All under the Event types and Click on Save.
- You will get to a screen which will show the newly created
webhook. Copy the webhook id from the Paypal App screen to OfficeClip
screen as shown in the figure below.
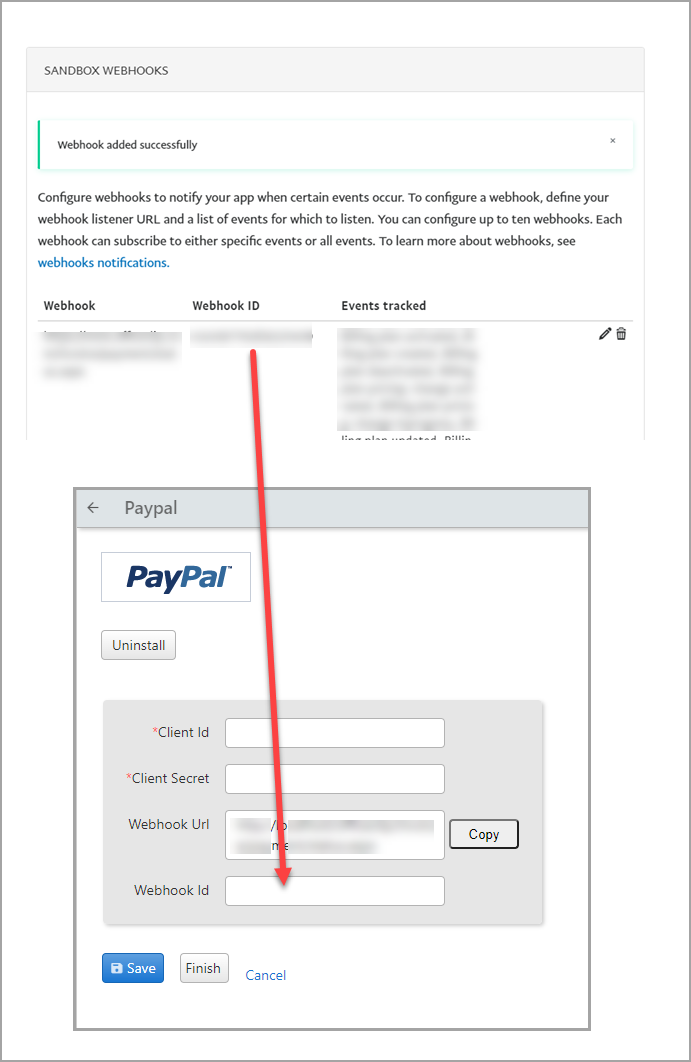
- Click on Save on the OfficeClip screen. You have now integrated OfficeClip with Paypal.
How to Pay OfficeClip Invoice With Paypal
Once the Paypal integration is setup it is possible to accept payments from customers directly from paypal.
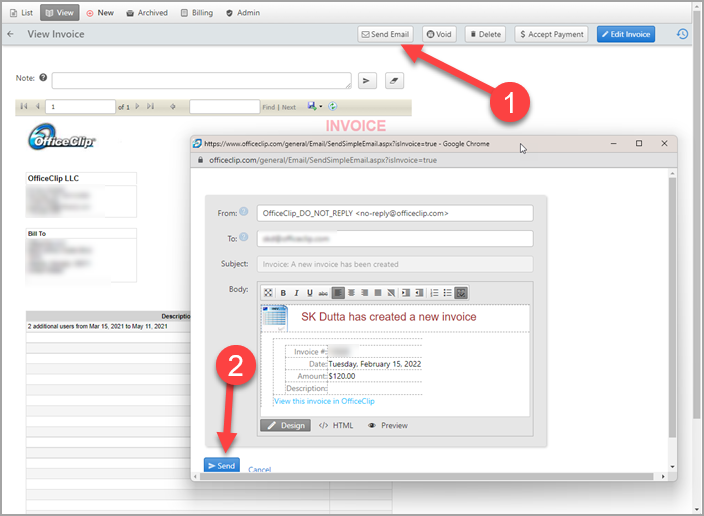
- After the invoice is created, click on the invoice to get to the
details screen. Then click on the Send Email to
send the invoice to customer via email.
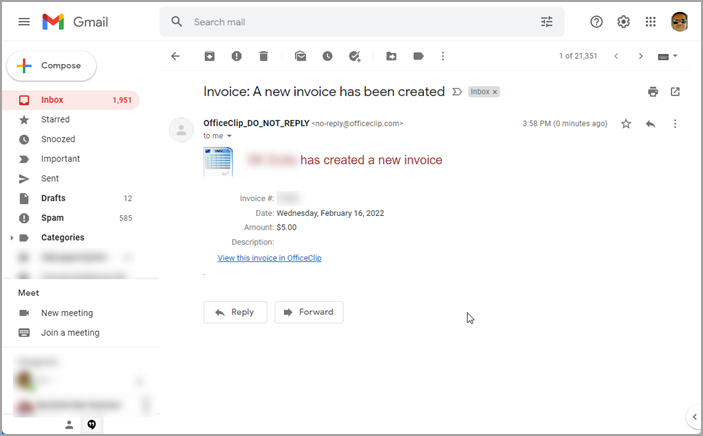
- When the customer receives the email, he/she can click on the
View Invoice link to get to the invoice.
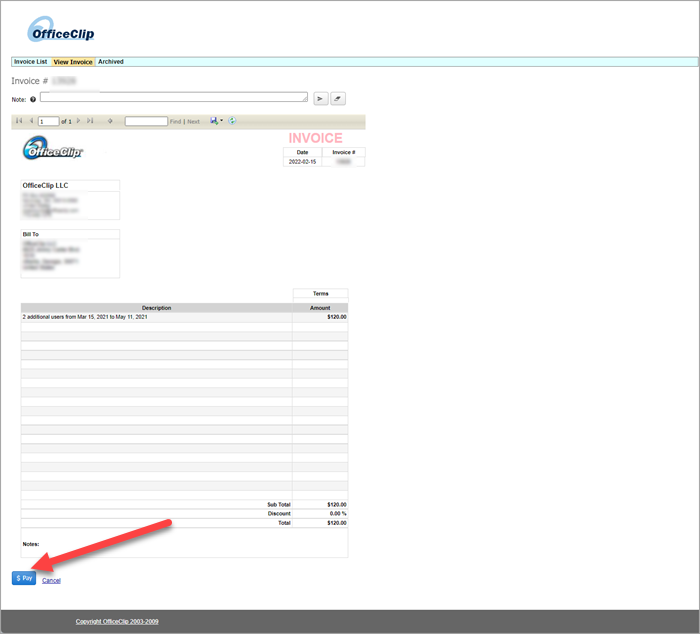
- Customer will be able to view the invoice on the browser. A
Pay button will show up at the bottom, which
can be clicked to pay the invoice.
- In the next screen all options to pay will be shown. Also on the right the balance due will also be shown. Customer can also select a partial payment and then click on the Pay button.
- Now Paypal will prompt you to login.
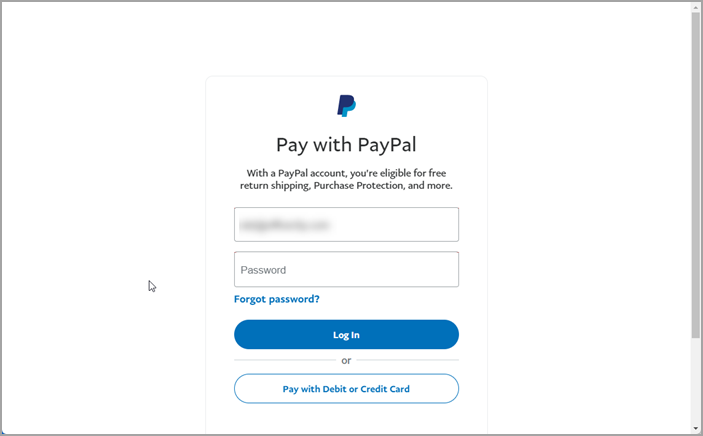
- Select the method of payment.
- Customer can also see all the past invoices by clicking on the
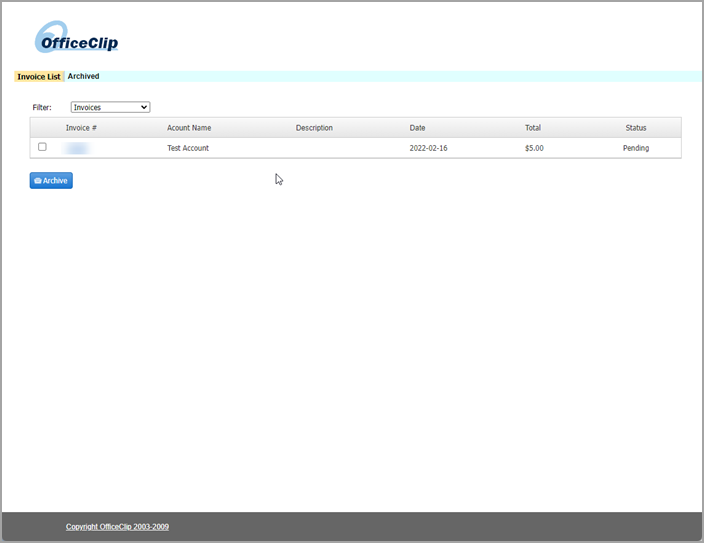
menu Invoice List.