Using Call Log
Create New Call Log
To enter information after calling a customer or receiving a call from the customer, follow these steps:
- Log into OfficeClip.
- Click Desktop > Call Log.
- On the Call Log list screen, click New or
click on the
 icon on the right side of the screen, to add information about the
call.
icon on the right side of the screen, to add information about the
call. 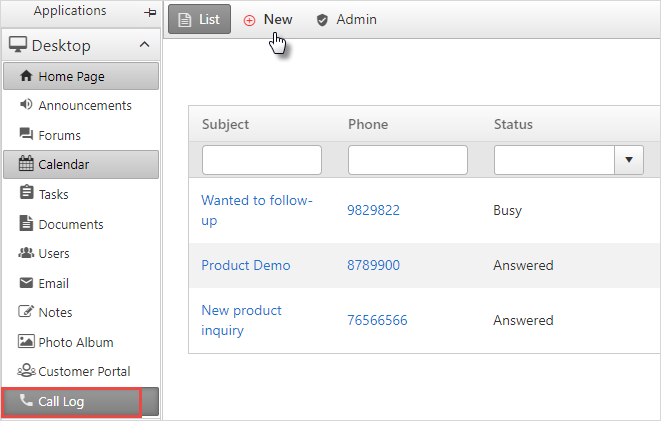
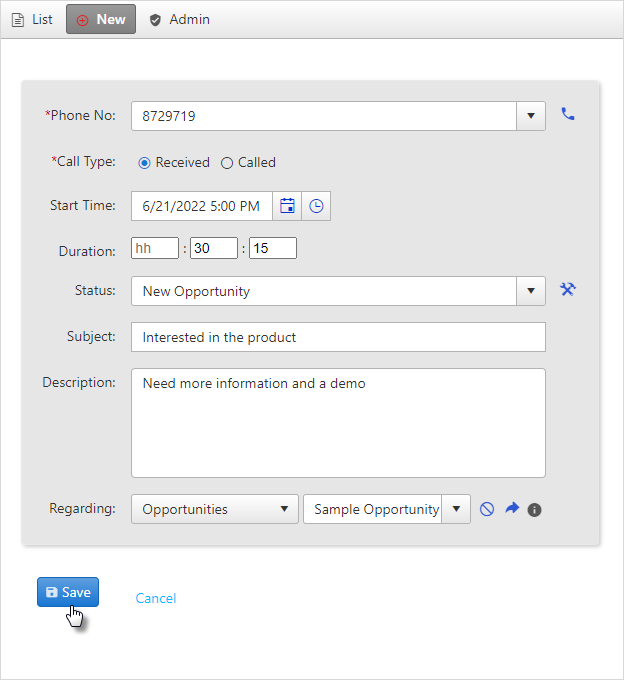
- On the next screen, enter the information about the calls.
- Enter the
Phone no.,Call type- whether you have received a call or called a customer. - Enter the date, time, and duration.
- Enter the
Statusby selecting options from the dropdown. You can also configure or add a new status as per your requirement by clicking on the icon. To learn more about how to configure the
status, click here.
icon. To learn more about how to configure the
status, click here. - Enter the
SubjectandDescriptionof the discussion you had with your clients. - Select the
Regardingfield. From the dropdown, select whether you had a discussion with your Contact, Competitor, Opportunity, or Account. Once you select the entity, select its sub-entity from the dropdown. - To clear the Regarding field, click on the
 icon. Click on the
  icon to go to that particular contact or
opportunity, and click on the
icon to go to that particular contact or
opportunity, and click on the  icon, to view the details of contact, competitor or
an opportunity, .
icon, to view the details of contact, competitor or
an opportunity, .
- Enter the
- After filling up all the information, click Save.
Call Log List Screen
To view all the Call log lists in one place:
- Click Desktop > Call Log.
- You will be directed to the List screen.
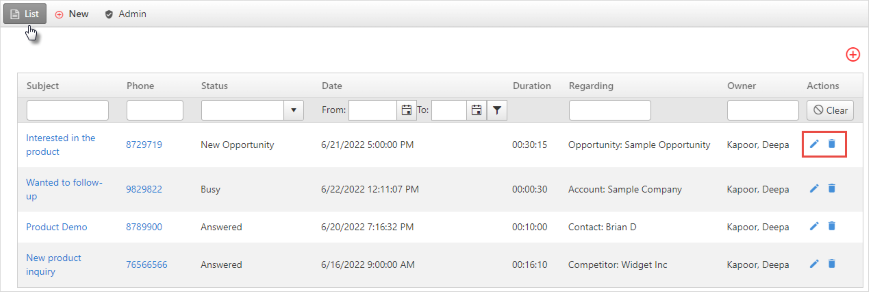
- On this screen, you will get an overview of all the detailed information related to the calls.
- To edit a call log, click on the
 icon. Make the necessary changes and click
Save.
icon. Make the necessary changes and click
Save. - To delete a call log, click on the
 icon. In the pop-up, select OK, and your call
log will be deleted.
icon. In the pop-up, select OK, and your call
log will be deleted.
Admin
Configure Items
You can add or configure items for the field Status in the Admin section. To add items:
- Click Desktop > Call Log.
- Click Admin.
- On the Add items screen, add the item as per your requirement in
the Item name section and click Add. Select
the default value and list ordered.
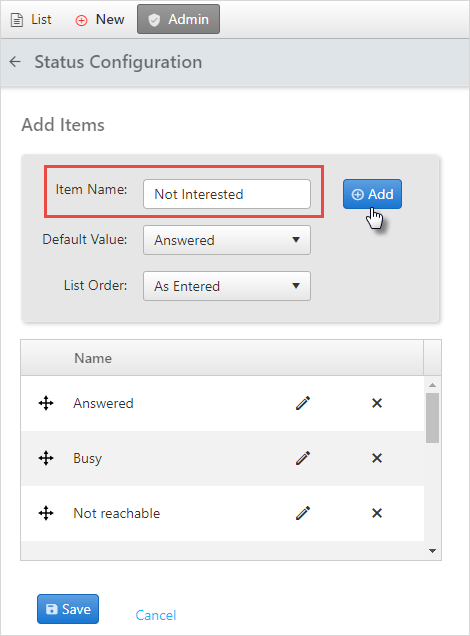
- Finally, click Save to save the changes.
Edit Item
To edit an item name:
- In the Admin section, click on the icon beside the item name to be changed.
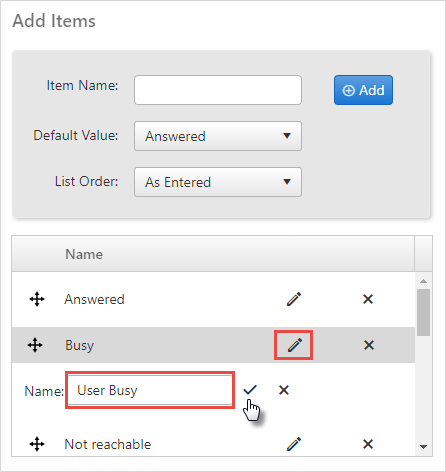
- Enter the new item name and click on
 icon
to save the changes.
icon
to save the changes. - To cancel the edit, click on the
 icon.
icon.
Delete Item
To delete an item:
- In the Admin section, click on the icon beside the item name to be changed.

- A pop-up will appear asking for permissions to delete. Click OK to delete the item.