Using Photo Album
Access Photo Album
- Log in to OfficeClip.
- Click Desktop > Photo Album in the left panel of the Home screen.
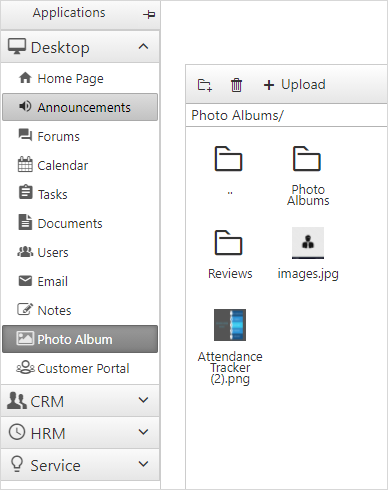
- The Photo Album portlet opens with the list
of folders containing images. You can view the folders by clicking the
links in the folder column.
Creating an Album
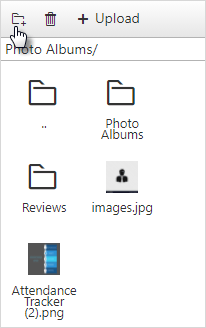
- Click New Folder in the button bar.
- Type the Folder name in the New Folder Name field.
- Click OK to add the album to the list.
Add Photos to an Album
To add photos:
- Click on the folder to which you wish to add photos.
- Click the Upload button on the button
bar.
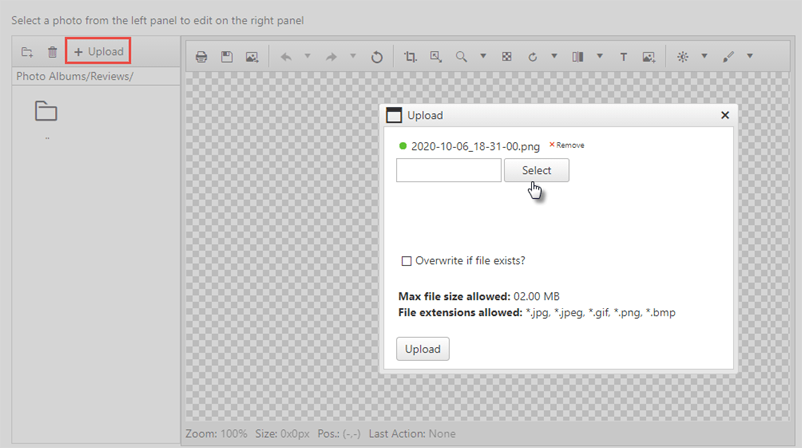
- Click Select. The file manager will show up.
- Select the desired file from the desired folder. You can also drag and drop the file and then click Upload.
- You see the photo added to the folder
- To view a photo, click on the photo.
Deleting Photos
- Click the folder containing photos to delete.
- The next screen displays thumbnail images of the photos. Click
 icon in the button bar.
 - Click OK to delete the photo.
Deleting a folder
- Select the folder you want to delete.
- Click the
icon in the button bar.
Viewing an Album
To view an album:
Click the folder from which you want to view photos.
The screen displays the thumbnail images of all the photos of that particular folder.
Click on the photo, and you will be able to view the image.