Administration of the Calendar
This section describes ways to administer the OfficeClip Calendar efficiently.
Managing Labels
Labels can be added to the calendar entries to categorize events. Each label is shown with a different color, thereby making it easier to identify.
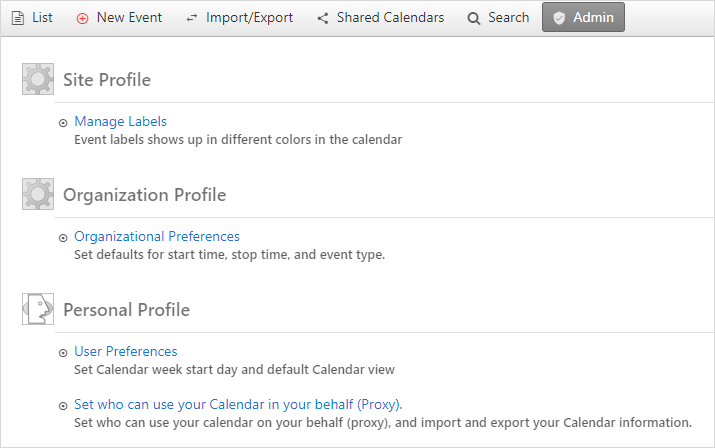
- Click Desktop > Calendar > Admin > Manage Labels.
- To create a new label, click on the Create New
Label button, enter the label name, and select label
foreground and background color.
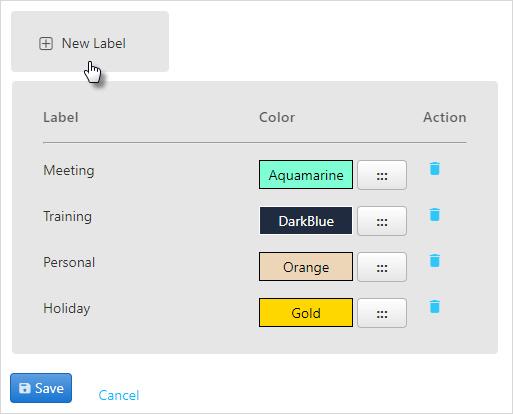
- Click Save to save all the changes or Cancel to exit.
Organization Profile
The administrator can set calendar preferences at the organization-level, such as the day that each week starts on, the start and end time of each day, work days and a default for creating new events.
- To manage the organizational preferences, click Admin on the button bar within Calendar.
- Click Organizational Preferences under the
Organization Profile to modify preferences for
the entire group. Set the preferences by selecting from the drop-down
lists or checking the appropriate boxes.
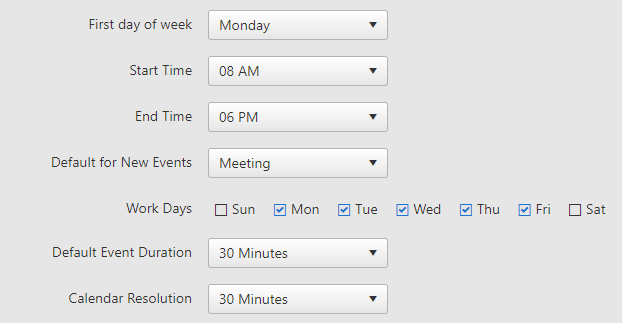
- Click Save to save the changes and to go back to the Admin screen.
Personal Profile
The administrator can set user preferences here, such as the view of the calendar in the main calendar screen and the default status to show on the calendar.
To set user preferences:
- Click on the Admin menu within Calendar.
- Click User Preferences under
Personal Profile to adjust aspects such as
Default Calendar View
(Day, Month, etc.), as
well as Default Status.

- Click Save.
Calendar Proxy allows you to assign other group users as proxies who can create events on your behalf. These users can view all of the events with which you are associated, including private events. This feature enables an executive to have an assistant schedule his daily activities. By granting proxy access to the Calendar, the executive gives the assistant the ability to create both private and group events and schedule meetings on his/her behalf.
- Under Personal Profile, click Set who can use your calendar on your behalf (Proxy).
- You can select the group user whom you wish to give responsibility
for managing your calendar events. You can also select to give
selected users Read Only access by checking the
box.
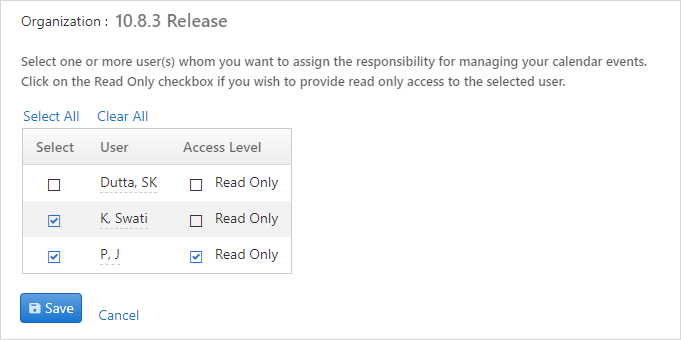
- Press Save when finished.