Accessing and Using Calendar
This section describes ways to use the OfficeClip Calendar effectively.
Log in to OfficeClip.
Click Desktop > Calendar.
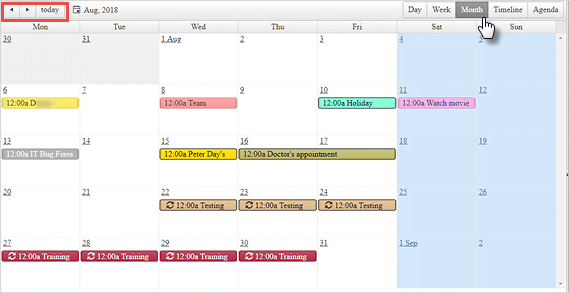
The users can access Daily, Weekly, Monthly views, Agenda and timeline by clicking on the respective icon on the top frame of the calendar. Access today's events by clicking on the today link on the top frame of the calendar.
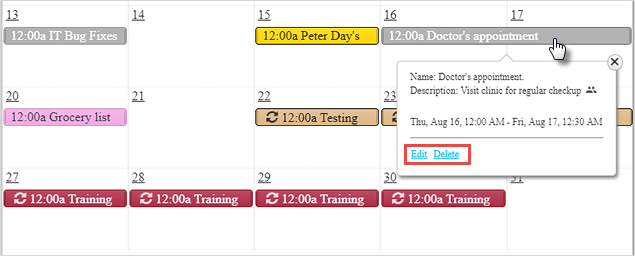
To view details of an event, click on the event title within the calendar. If you are the creator of an event, you may choose to modify or delete the event after selecting its title on the calendar screen.
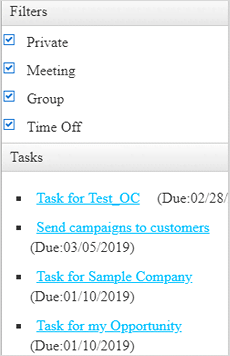
Tasks are visible on the right side below the calendar list screen.
Event types can be filtered by clicking on the appropriate checkbox from the right side of the calendar list screen.
History
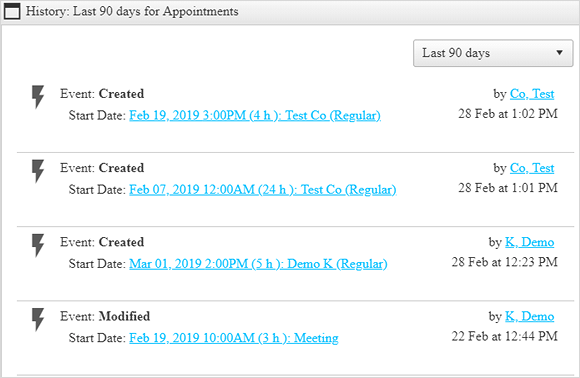
The history button on the top right of the main screen helps to keep track of what your team is working at many levels.
When you click on the History button on the main screen, you will be able to see the changes made to the calendar.
To learn more details about the history button, click here
Creating Events
- Create a new event for yourself, a group, or a meeting by clicking
on the New Event button bar within the
Calendar menu.
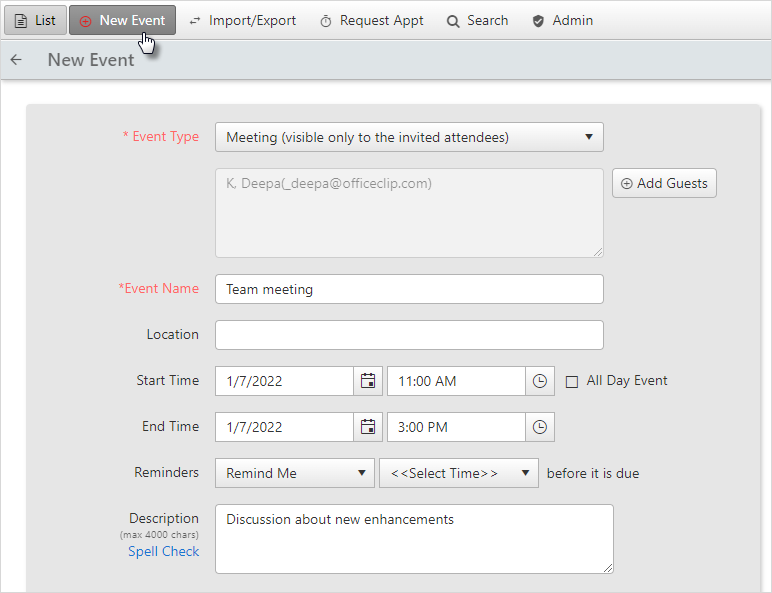
Choose the Event Type from the drop-down menu and then fill in the appropriate information.
Note:Meetings are only visible to those invited. When setting a group event, you can choose to ask for RSVPs, which helps you keep track of the attendance status.
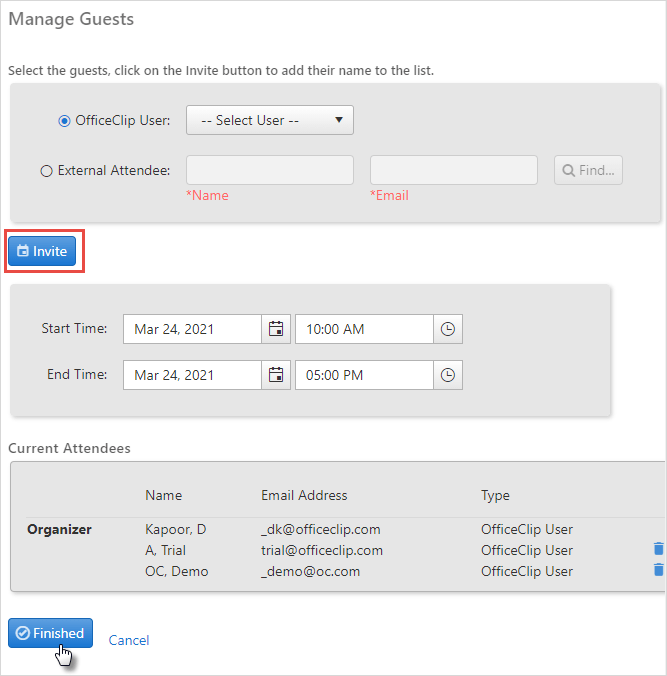
When you create a Meeting, you can click on the Add Attendees button that appears, allowing you to select an OfficeClip User from the drop-down list. Alternatively, you can choose External Attendee, type the Name and Email address of the External Attendee, and then click on Invite. When you are finished inviting, click Finished.
You can now select the Start Time, End Time, Timezone, Recurrence and other options that correspond to the meeting event.
To set recurring events, click on
 recurrence icon on the New Event
screen. Then select the recurrence type from the left (recurrence
types can be daily, weekly, monthly and yearly).
recurrence icon on the New Event
screen. Then select the recurrence type from the left (recurrence
types can be daily, weekly, monthly and yearly).
After filling in all the necessary information for your event, click Save.
A screen will verify your information.
Your new event will now be visible on your calendar for all pages (day, week and month).
Additional Options
Click on the Additional Options link to set more options:
- Set the event time zone by selecting it from the
Timezone drop-down.
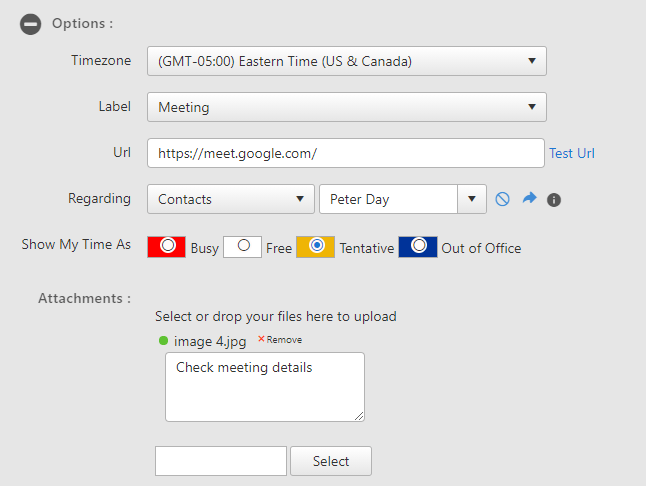
- Add the desired label to the event whether it is a meeting, training program, seminar and so on.
On the URL text box, you can set the URL associated with an event.
With the use of the Regarding field, calendar events are tied to the relevant parent entity (e.g., account, contacts, opportunities, etc.). In this way, events are recorded automatically in the Account List with the corresponding account, or with the relevant contact if selected.
Show My Time As allows the user to set his/her status on the calendar. This feature can be used by other users to check their status before booking a meeting.
Attachments allow uploading files from your computer and attaching them to the event.
Agenda
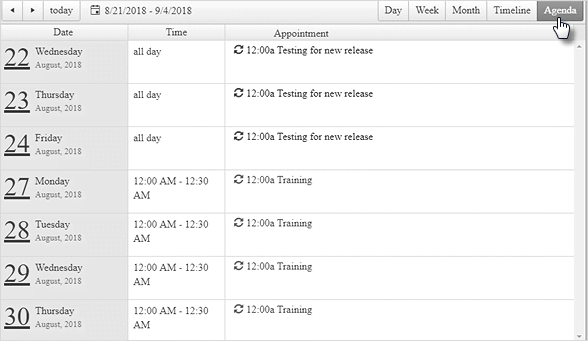
This option shows the event for a particular day in tabular form. It also shows all the events of the week. To access it, click on the Agenda button from the top bar.