Email Options
From here, you can set up various features of your email within OfficeClip, such as your signature, reply settings and other general options for managing emails smoothly.
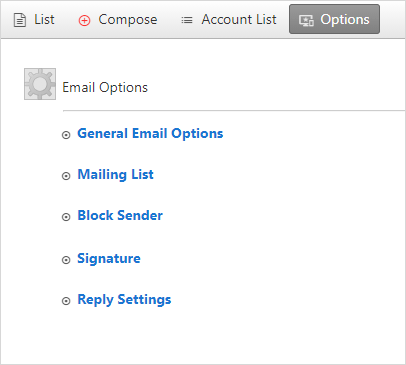
To configure several email options:
- Click Desktop > Email. > Options.
- To setup the Compose Email option, from
Options select General Email
Options
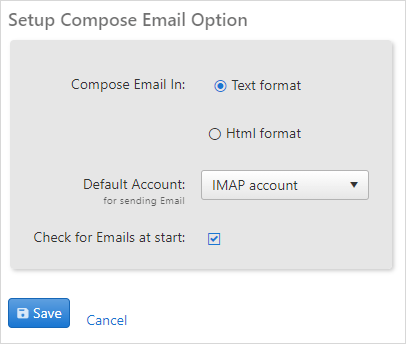
- Select the format for composing email by clicking on the appropriate radio button.
- Select the default account for sending email from the dropdown.
- If
Check for Emails at startis check marked, whenever an Email application is opened it will show up all the new emails in the Inbox first. - Click Save to save all the changes.
- To create your own mailing lists, from
Options select the Mailing
List link.
- This option will help to create a group of email addresses to correspond to a mailing list.
- To set mailing list, click on the New
Item, add the list name and click on the
 icon to save the mailing list name.
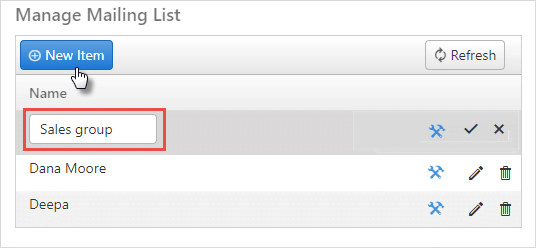
- To edit the list name click on the
 icon, to delete the list name click on the
  icon. To configure or set up the mailing list, click
on the
icon. To configure or set up the mailing list, click
on the  icon.
icon.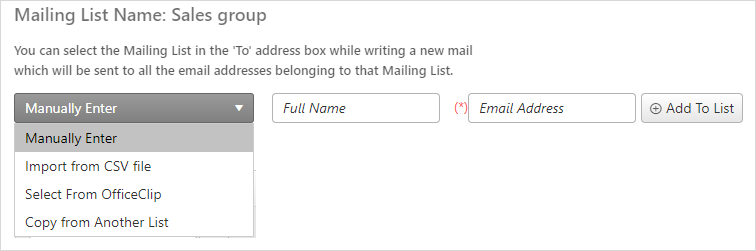
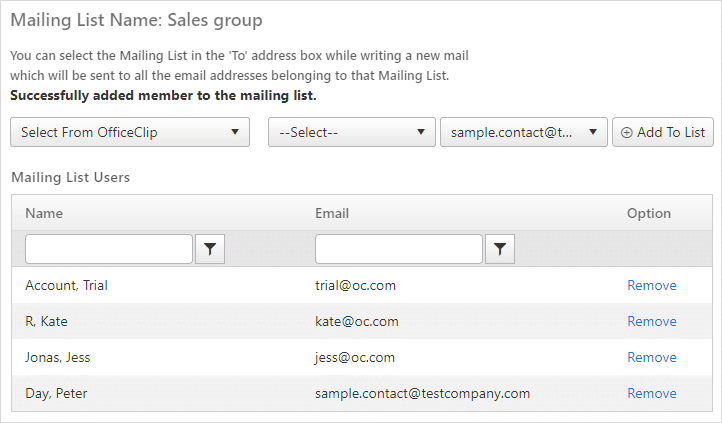
- Here you will get four options in the dropdown:
- If
Manually Enteroption is selected, enter the name and email address of the user in the corresponding boxes and click on Add to list button. - If
Import from CSV fileoption is chosen, click on Choose file button, select the CSV file from the desired location and click Import. - If
Select from OfficeClipoption is chosen, from the corresponding box select eitherContactsorUsers, and then choose the desired names from the list from the next corresponding box and click on Add to list button. - If
Copy from Another listoption is selected, you will see a list of contacts from other lists in the corresponding dropdown. Select the appropriate users and click on the Add to List option.
- If
- You can finally see the list of users created in a group you
have created for mailing list. You can remove the users from the
group, if not required by clicking on the
Remove link.
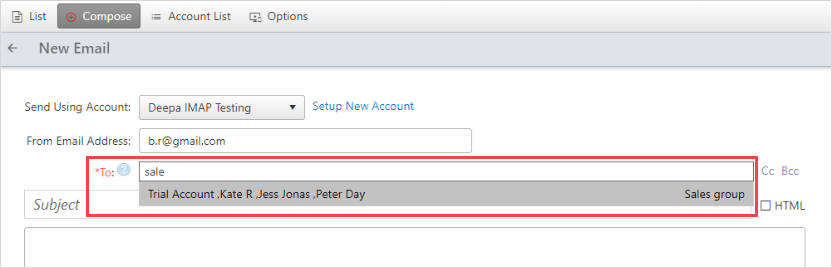
- While composing an email the user just need to type the group
name and the email will sent to all the users in the group.
- To block the senders, from Options, select the Block
Sender link.
- Type the email address of the sender you want to block.
.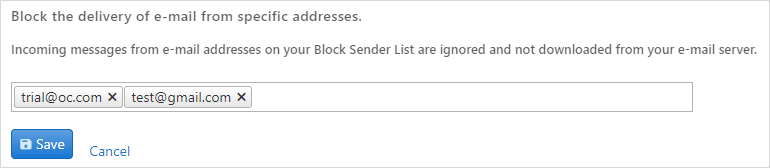
- Click Save.
- To unblock the email address, click on the
 icon on the email address and click
Save.
icon on the email address and click
Save.
- Type the email address of the sender you want to block.
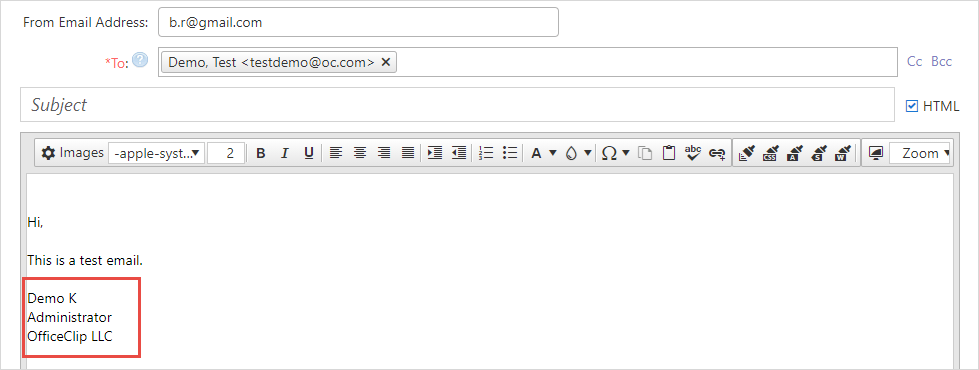
- To add signature to all the outgoing emails, from
Options select the
Signature link.
- Add the signature in the text box.
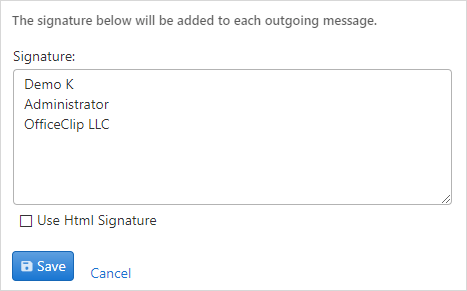
- For HTML signature, checkmark the
Use HTML
          Signature
box. - Click Save.
- Every time an email is composed the user will see the signature.
- Add the signature in the text box.
- To setup reply setting, from Options select
the Reply Settings link.
- This screen allows you to choose whether to include original
content when replying or forwarding.
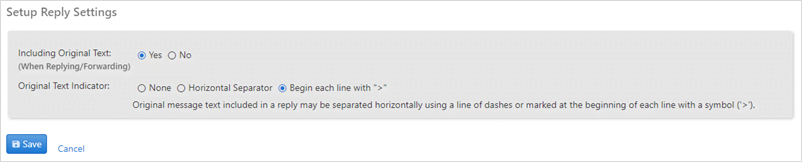
- Select the option on how the original message should be separated.
- Click Save.
- This screen allows you to choose whether to include original
content when replying or forwarding.