Using Notes
Add a Note
- Click on the desired notebook where you want to create the notes.
Click New Note or click on the
 icon on the right side of the screen.
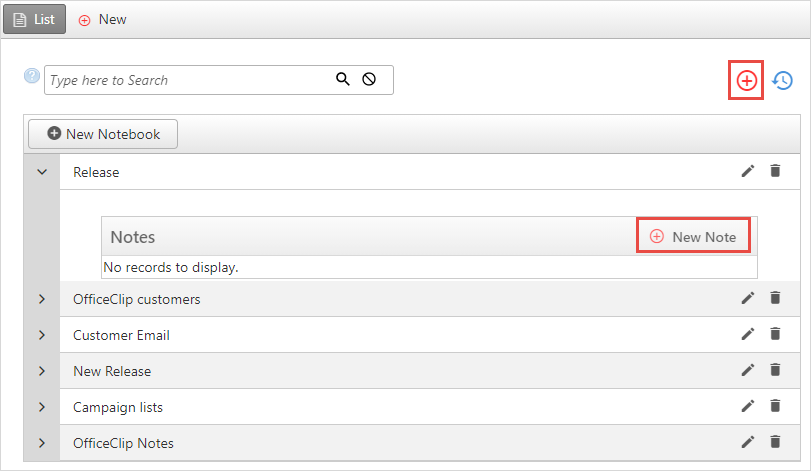
- Enter the title and type your notes in the Note box and click Spell Check to identify and correct any spelling errors.
- If you are creating a personal note, click the
Private checkbox. In the Note
List, a lock icon
 is displayed
beside the note, indicating that it is personal.
is displayed
beside the note, indicating that it is personal.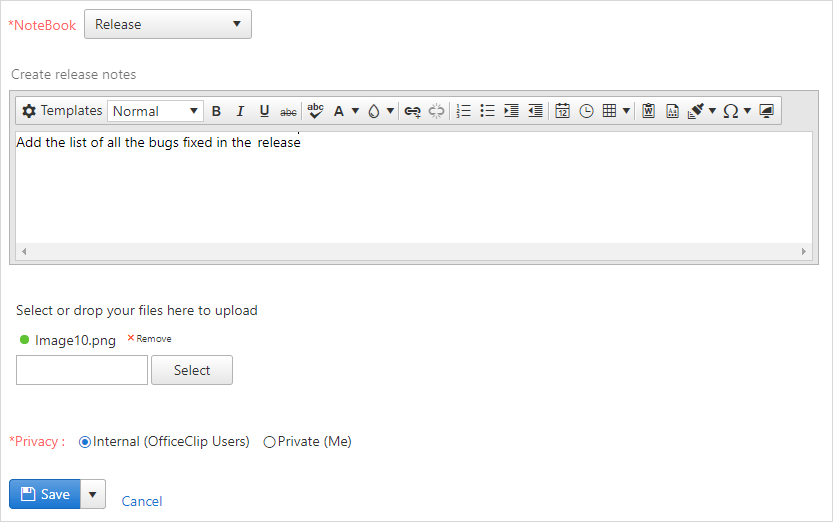
- To add Attachments, click on the Select button and choose the file from the desired location. You can also drag and drop a file in the box from your windows explorer.
- There are two options while saving. Click Save to save the note in the Note List as a simple note, or click Save as template to save the note as a template which can be used again in future.
Modify Notes
To edit a note, click on the
 icon. Make the required changes and click
Save.
icon. Make the required changes and click
Save.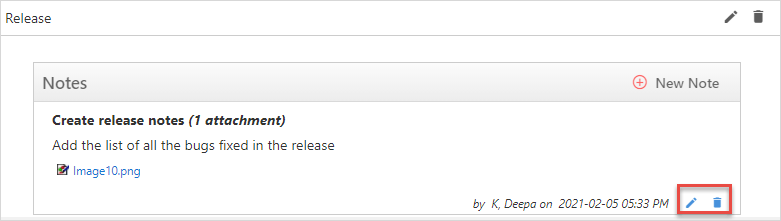
To delete a note, click on the
 icon. If you want to delete, click OK, or to
exit, click Cancel.
icon. If you want to delete, click OK, or to
exit, click Cancel.
Search Notes
- To search a note, type a word or phrase related to the note and
click the
 icon.
icon. 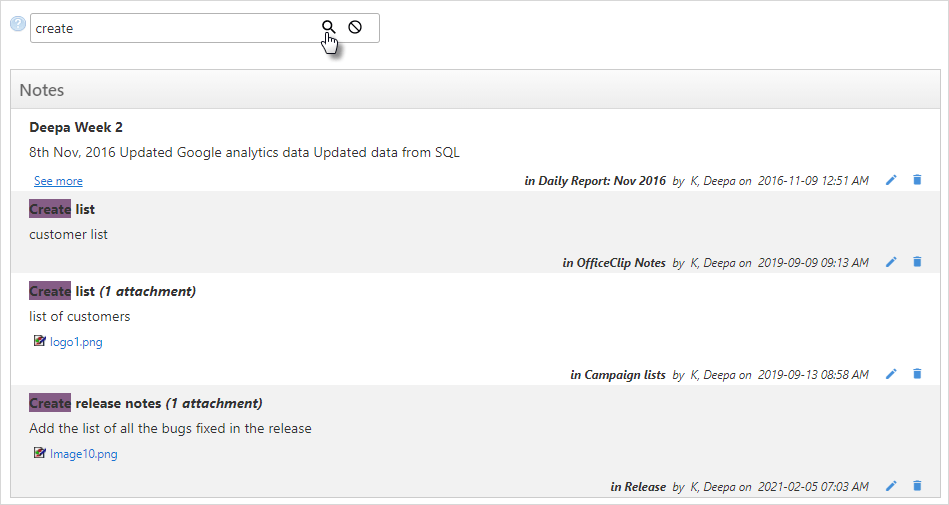
- When the search results are displayed, you find the note in the Note List.
History
The history button on the top right of the main screen helps to keep track of what your team is working at many levels.
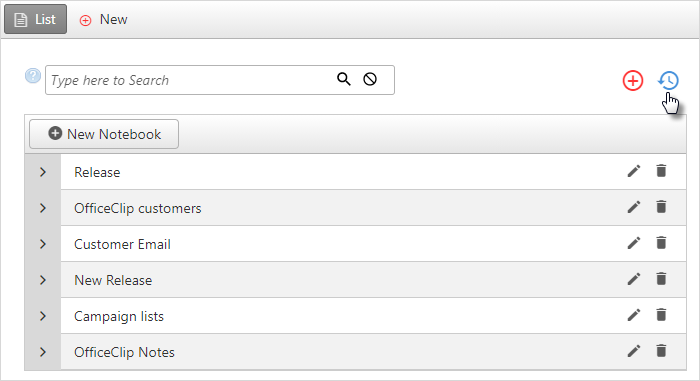
When you click on the History button on the list screen or inside a note, you will be able to see the changes made to a notebook or notes.
To learn more details about the history button, click here.