Using Documents
The following sections describe the efficient utilization of the OfficeClip Documents application.
Accessing Documents
- Log in to OfficeClip.
- Click on Desktop >
Documents.
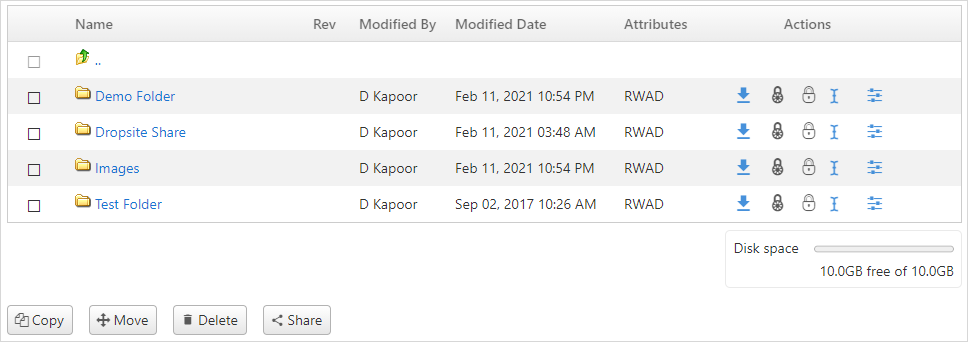
- You will find the list of all the folders or documents.
Document Attributes
Every file and folder in OfficeClip is associated with an attribute. They are:
R=Read,
W=Write,
A=Append, and
D=Delete.
These attributes can be altered by clicking the ![]() icon within the actions column.
This brings up a property screen.
icon within the actions column.
This brings up a property screen.
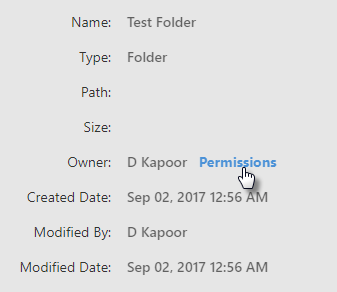
Users can then click on the Permissions link to provide access privileges. To see the detailed description of how to change permissions, click here.
Creating Folders
Folders help you to manage and organize your documents within OfficeClip. You can name folders to match a project or task, so that they can be easily recognized and accessed by the users of the organization.
- To create a new folder, click New Folder on
the button bar within Documents.
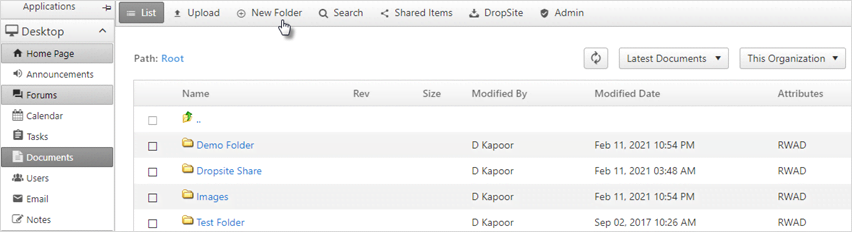
- You can create a new folder directly in the main Root folder.
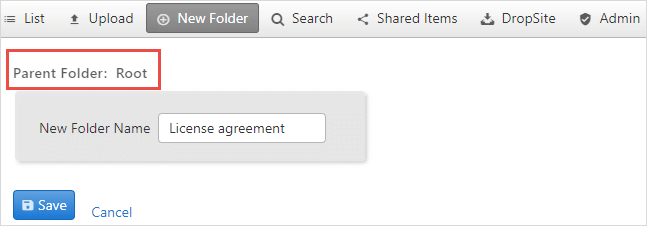
- Or create a new folder inside an existing folder, by clicking on
the folder and then clicking on the New Folder
button.
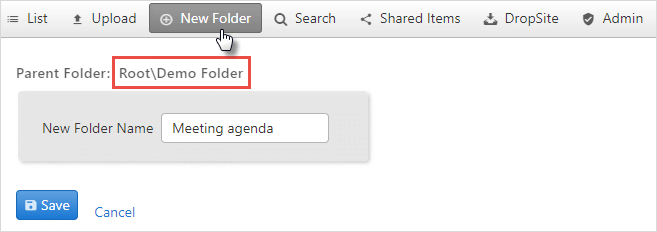
- Enter the name of the new folder and click Save.
The address above the "New Folder Name," displays the location of the new folder.
Uploading Documents
You can upload documents with different file types such as .jpg, .jpeg, .pdf, .png, .doc, .docx, .gif, .xls, .xlsx, .csv, .html, .txt into the OfficeClip Documents application.
You can also bulk upload zip files. Bulk Upload will help you store some folders with large data size in your documents application.
All users in the organization can see the documents by default, although the administrator can modify their access to the documents.
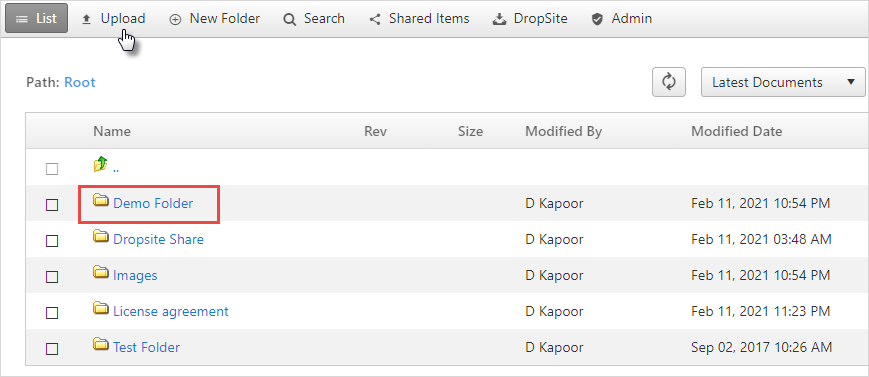
- To upload a document or a file to OfficeClip, click on the folder inside which you want to upload a document.
- Click Upload.
- You may upload as many as six files at a time. If
Upload
        single or multiple files
option is chosen, click Select , which will open a pop-up window, it allows you to choose the file from the location folders. Select the file and click Open. The users can also drag and drop the file from the file manager.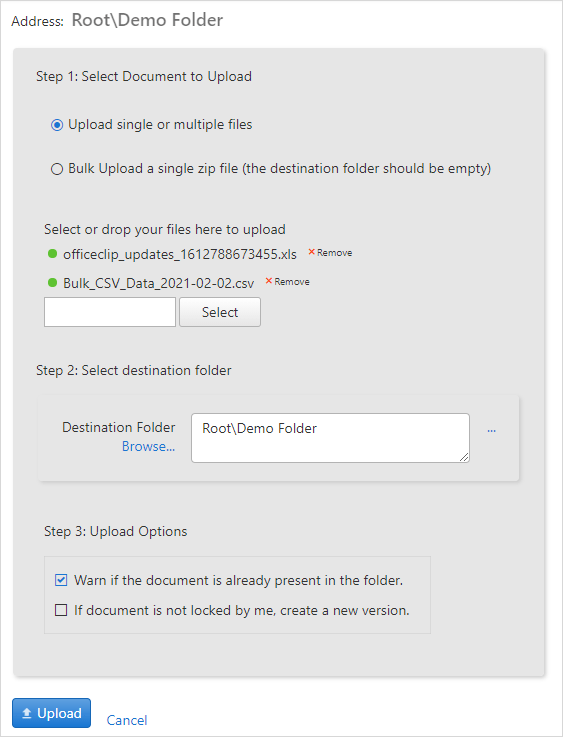
Before selecting the
Bulk Uploadoption the user first has to create an empty folder wherever the file is to be uploaded. The destination folder where documents with large data size are uploaded should be empty.- If the destination folder is already selected, skip this step. If you have not selected the destination folder for saving documents previously, then click on Browse. Select the appropriate folder and click Continue.
The selected destination is now be displayed in the Destination Folder box.
Choose additional safety options. You may select the check boxes for Warn if the document is already present in the folder, as well as If document is not locked by me, create a new version.
When uploading, if an existing file version is already in the system and the check box labeled If Document is not locked by me, create a new version is checked, it allows multiple revisions to be stored. Both the original version (Rev 1) and the new version (Rev 2) will be stored.
Drag and Drop Support for Files
You can also drag and drop documents from your file manager. Also, if the document is of type image (png, gif, jpg), you can expand it to see the details.
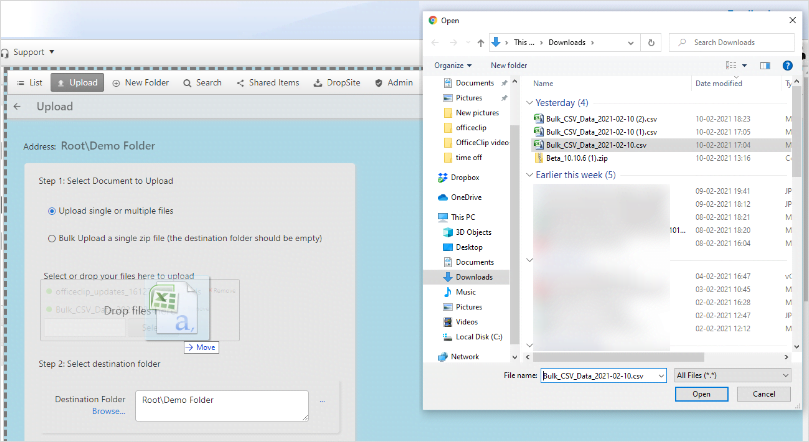
To upload the file from your file manager or desktop just select the file, drag it and drop it in the desired place.
Moving and Copying Documents and Folders
You can move or copy folders and documents, which can be very helpful in organizing and managing documents and folders for a project. Documents can be moved or copied into folders, and one folder can be easily moved or copied into another folder.
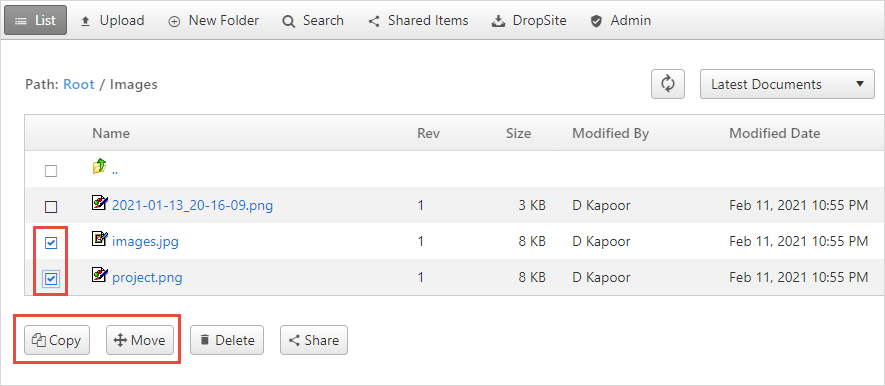
- To move or copy a document or folder, first select the checkbox
next to the relevant document name and then click the
Copy or Move button at
the bottom of the document list.
- Select the destination folder by clicking
Browse.
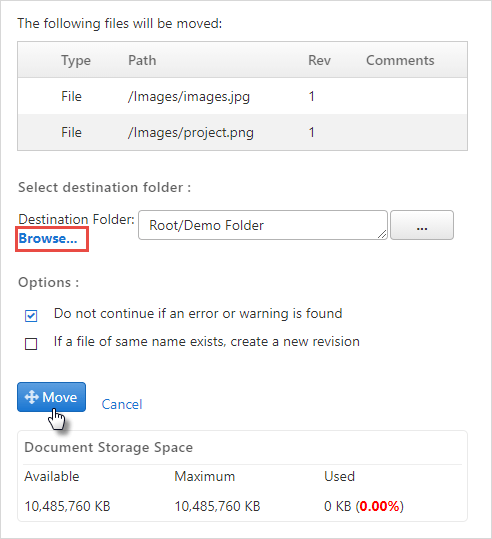
Choose the appropriate option :
Do not continue if an error or warning is found, or
If a file of the same name exists, create a new revision.
- Click the Move or Copy button.
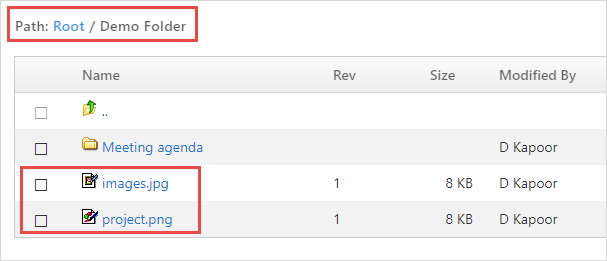
- You will be taken to the final Move/Copy
screen, where you can see the results of the file operation.
Deleting Documents and Folders
This feature allows the user to remove files and folders from the Document application. It will delete a file/folder from the desired location; however, if the file is also in another folder location, it will not be removed from that location.
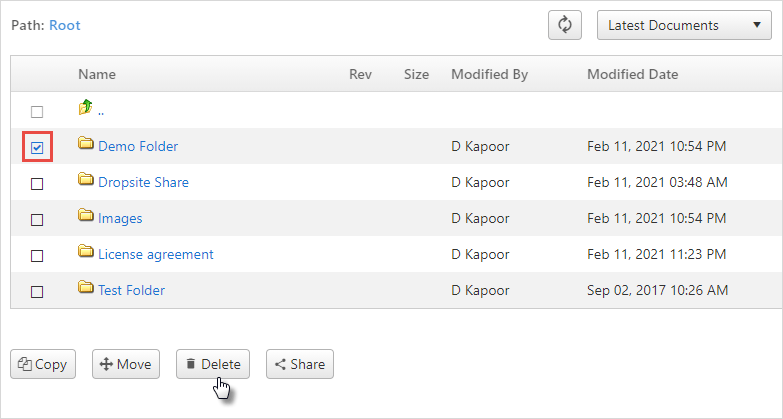
- To delete a document or folder, select the checkbox next to the
document name from the Document List screen and
click the Delete button. Alternatively, you may
first click the folder or document to see details and then click the
Delete button.
- A safety screen will display the content details allowing you to
confirm deletion of the selected documents or folders. Click
Delete to continue.

History
The history button on the top right of the main screen helps to keep track of what your team is working at many levels.

When you click on the History button on the list screen or inside a document folder, you will be able to see the changes made to a folder or in a document.
To learn more details about the history button, click here.
Searching Documents
OfficeClip allows the user to search for and find documents based on certain criteria easily. You can search by a file name, by the size of a file, and created and modified dates of the document.
To search for specific documents, click Search on the button bar within Documents.
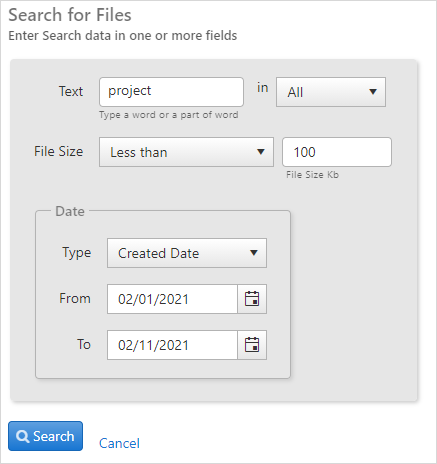
- Enter any keywords or descriptions in the
Text box. Select from the drop-down menu
whether you would like to search in keywords,
file name, details,
created by, or All. You
can also limit the search to documents of a certain file size and/or
date. Click Search after filling up all the
details.
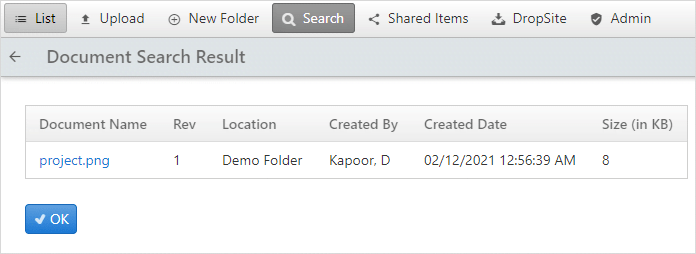
- You can see the list of desired documents in the search results.