Getting Started with Expenses
Understanding OfficeClip Expenses
The expense sheet aids in calculating the expenditure incurred for project-related activities and helps in billing these activities accurately. When integrated with the timesheet component, this component helps the organization get a clear picture of income and expenditure, as well as the profitability.
The following are the important aspects of the expense sheets:
Users enter the expenses for a project and expense type. An expense type can either be billable or non-billable.
If the administrator enables the details required checkbox, then the user must provide the details of the expense type selected.
The default currency is set to ensure that all the transactions are done through a single currency type.
Completed expenses must be submitted for approval through the routing method selected by the administrator. Routing rules can be configured separately for each user.
For users to be able to use expenses, the projects, expense types, default currency and customers need to be defined.
Overview
OfficeClip Expenses are records of the cost incurred from work-related tasks such as travel, supplies, lodging, food, etc. In the regular workflow, expenses are entered by employees, then approved by their supervisor, and finally reimbursed by the accounts. Users may also receive a cash advance that is adjusted with the payment.

The Timesheet and Expense link shows the status of all the expenses that are submitted for your approval, pending approval, rejected, etc., allowing you to take action quickly on the ones that need your attention.
In OfficeClip, Timesheet and Expense are available as two separate modules packaged together in one application. If your organization is interested in a single module, you can easily disable the other module.
Currency
A default currency can be set for a particular group. This helps the user to customize the expenses component to his/her organizational standards.
Also, each user of the organization can have a different currency. If the user currency is set, it overrides the default currency.
To set up a default currency:
Click Expense > Admin > Currency.
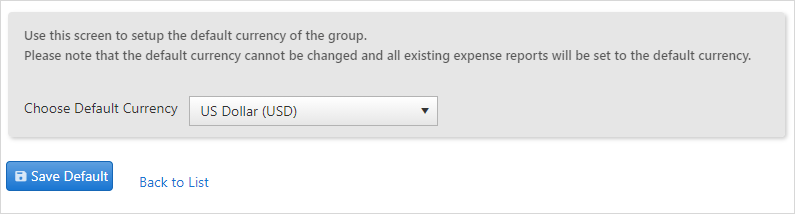
Choose a default currency from the dropdown and click Save Default.
Once the default currency is set, it cannot be changed, and all existing expense reports will be set to the default currency.
History
The history button on the top right of the main screen helps to keep track of what your team is working at many levels.
When you click on the History button on the Expense list screen or inside an expense sheet, you will be able to see the changes made to the expenses or you can see the status of expenses approved, submitted or rejected.
To learn more details about the history button, click here.