Setting up Expense Profiles
Each organization can set up and customize the expense properties according to the organizational requirements.
To modify various items within the expense sheet:
Click HRM > Expense > Admin > Profiles
Select the options according to your preference from the specified drop-down lists for the following characteristics:
Layout
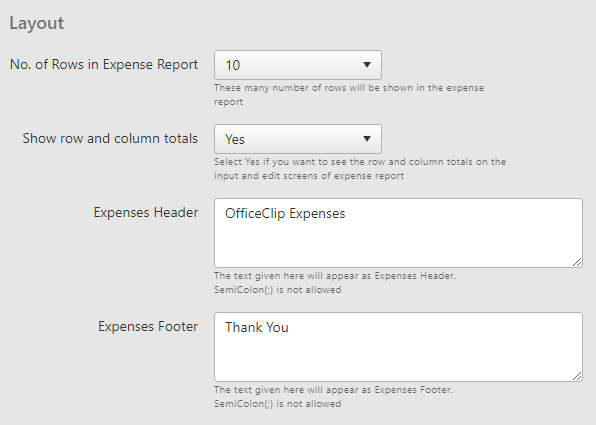
No. of Rows in Expense Report: The number of rows that are shown in the expense report.
Show row and column totals for expense: An option to see the row and column totals on the input and edit screens of expense sheet.
Expense Header: The text that appears at the top of the expense report.
Expense Footer: The text that appears at the bottom of the expense report.
Features
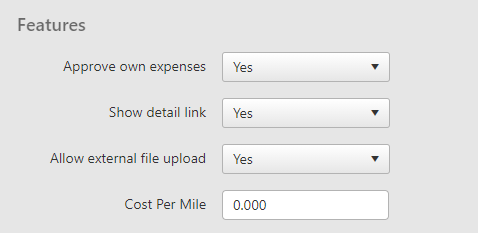
Allows the user to approve their own expense report: If set to manual workflow, users will be able to approve their own expenses.
Show detail link on weekly expense report: An option to show the detail hyperlink on the weekly expense report.
Allow external file upload: An option to allow file or image attachment on the weekly expense report.
Cost Per Mile: The cost per mile mentioned here is used for calculating the mileage amount when filling up mileage on the expense report.
Functions
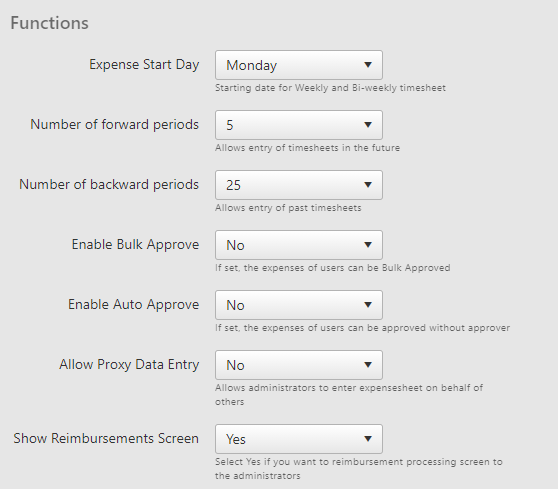
Expense Start Day: The day which appears on the first column of a weekly expense.
Number of forward periods: The number of starting dates a user will be able to choose to create a new expense report.
Number of backward periods: The number of past dates a user will be able to choose to create a new expense report.
Enable Bulk Approve: Allows bulk approval of user's expense reports.
Enable Auto Approve: Skips the approval process for certain users and marks the expenses as approved as soon as it is submitted.
Allow Proxy Data Entry: Allows administrators to enter expenses on behalf of others.
Show Reimbursements Screen to Administrators: An option to show the reimbursement processing screen to the administrator.
Click Save to save all the changes.
Click Save & Next to save the changes and go to the next Admin screen.
To go back to the Expenses list screen, click on the Back to List button.