Manage Organization Settings
The administrator can manage information about the organization such as creating a new organization, renaming organizations, changing the time zone, and adding divisions to organizations.
Create New Organization
The user who creates an organization is automatically given administrator privileges and will have these privileges until there is at least one other user to assign as an administrator.
To create a new organization:
- Click Settings > Organization
Settings > Organization >
Create New.
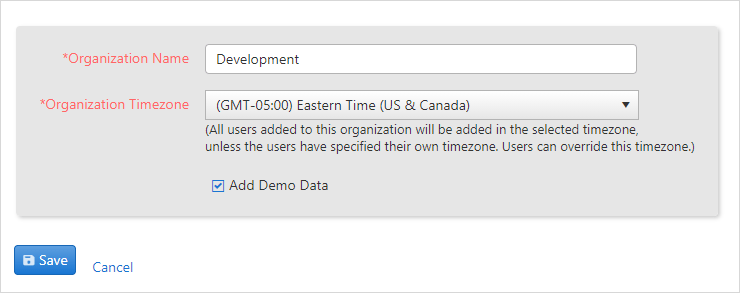
- Type in a name for your organization in the field Organization Name and select the appropriate time zone from the drop-down menu.
- If you want the
Demo Datacheck mark the box. - Click Save when finished.
Remove Organization
Removing an organization removes all the information and data that is part of that organization. This includes all contacts, all timesheets, all projects, and any other user-created data.
As a safeguard, OfficeClip has added the step of typing in the word
YES to remove the organization, as well as click a
button, to ensure the administrator is fully aware of what will be
lost.
The screen also displays a complete list of all the current information within the selected organization.
To remove an entire organization and all its information from OfficeClip:
- Click Settings > Organization Settings > Remove.
- Type
YESin the text box to show you are ready to remove the organization and aware of all the information that will be deleted.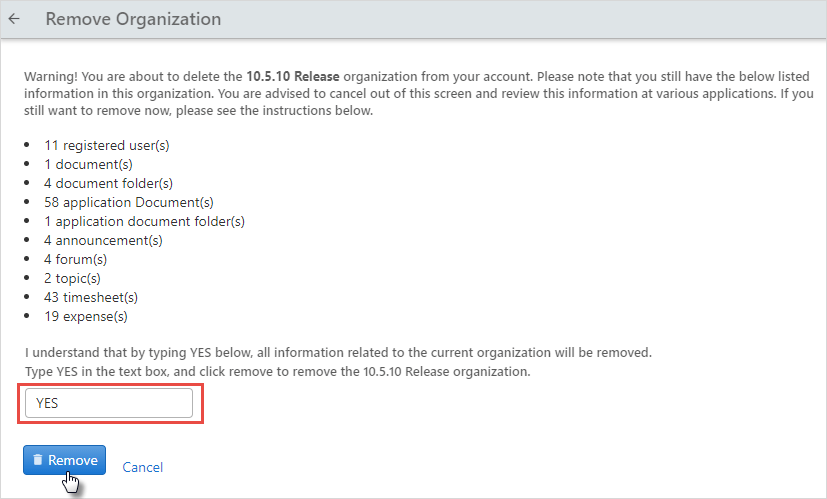
- Press Remove to erase the organization permanently.
If you remove an organization, all information associated with the organization (e.g., Contacts, Timesheets, Projects, etc.) will be deleted.
Rename Organization
This feature allows the administrator to change the name of the organization.
To change the organization name:
- Click Settings > Organization Settings > Organization > Rename.
- The Old Name is displayed, and you can type
the New Name into the text box.
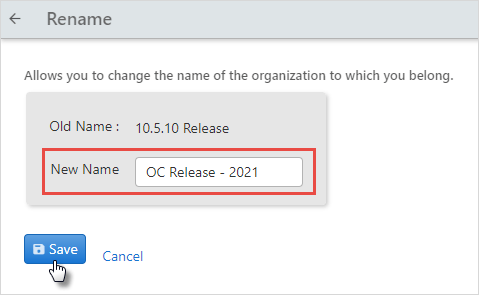
- Click Save when finished.
Time zone & Custom Fields
This particular function is used to change the time zone of the organization and could be useful in the case of a company relocating or opening a new location.
To change the time zone:
- Click Settings > Organization Settings > Organization > Timezone & Custom fields.
- The current time zone is displayed, and you can change it by
selecting the desired time zone from the New
timezone drop-down menu.
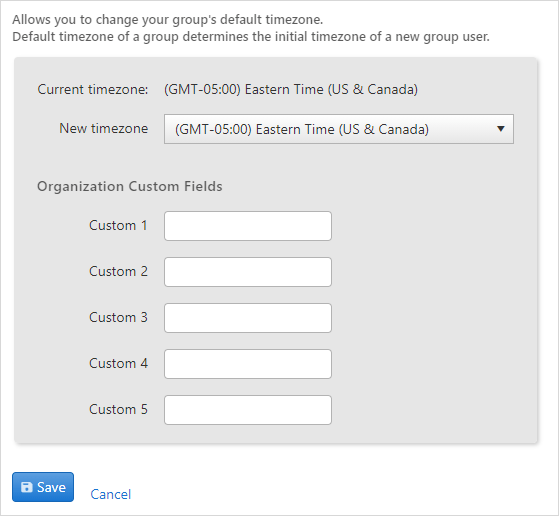
- To change an organization custom field, enter these fields in the text box. These fields are used when communicating with external systems like ADP payroll.
- Click Save when finished.
Manage Divisions
An organization can have multiple sub-organizations (or divisions) that function as an organization but are still hierarchical within the organization. These sub-organizations are independent of one another and from the organization; they act as a security feature as well.
A user in a sub-organization will be able to see information in that entity, but he will not be able to access information in other sub-organizations within the same organization.
The sub-organizations will display in the Organization drop-down menu underneath the organization and indented slightly.
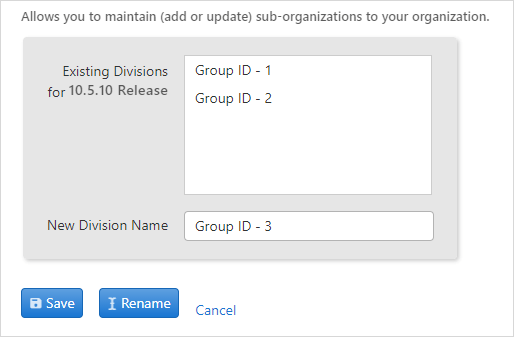
To maintain or add a division to an organization:
- Click Settings > Organization Settings > Organization > Manage Divisions.
- You will see the list of all the existing sub-organizations.
- Add the name of the new sub-organization and click
Save.
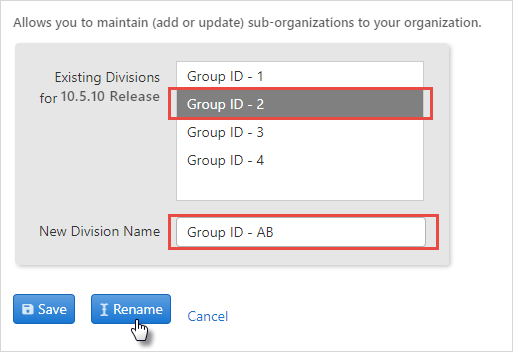
- To Rename Existing Sub-Organizations select
the sub-organization to be renamed, then change the name in the
New Division Name field and clicking
Rename when finished.
Managing Department
Departments are parts of the organization that shares all the information of the organization. They are created to categorize information in various applications like Timesheet and Expenses.
To manage departments:
- Click Settings > Organization Settings > Organization > Departments.
- To add a new department, click on the New Department button.
- Add the name, code and notes. To make the department active check
mark the box and click on the
 icon
to save.
icon
to save. 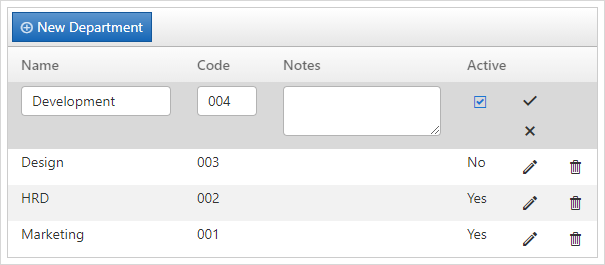
- To edit a department, click on the
 icon on the same row. Make changes and click on the icon to save changes.
 - To remove a department, click on the
 icon on the same row.