Viewing Competitor Details
View Competitor Details by clicking on the details
icon ![]() at
the left side of each competitor or by double-clicking on a row.
at
the left side of each competitor or by double-clicking on a row.
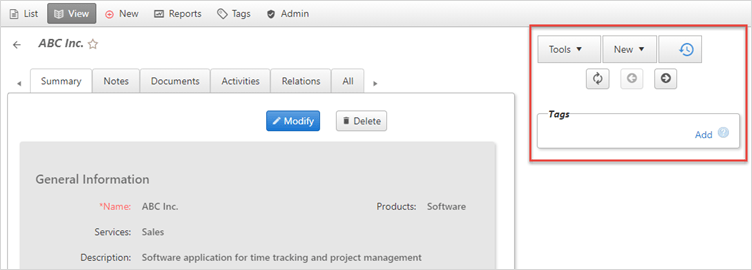
Tools Menu
On the Competitor summary page, we can see the tools button on the right side of the page.
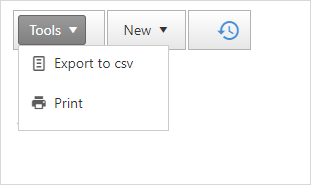
Export to CSV
To export competitors:
- Click on Export to CSV button in the Tools menu from the competitors details.
- Select which fields from the OfficeClip database you want to
have in the CSV file. You can move them up and down with the

 icons. These fields will appear as the first row in
the CSV file after being exported.
icons. These fields will appear as the first row in
the CSV file after being exported. 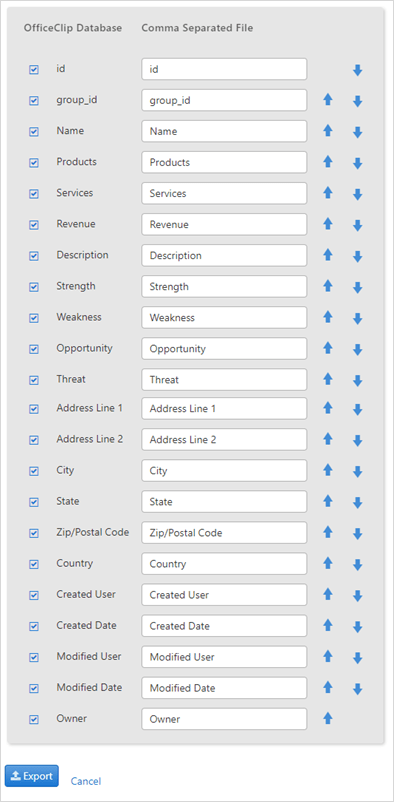
- Click Export when finished mapping. Click Open or Save from the pop-up dialogue box.
To print a particular competitor:
Click on Print button in the Tools menu from the competitors details.
You will see all the details of the competitor. Click Print.
To exit, Click Close.
New Menu
The New button next to the Tools button on the top right corner allows users to insert some related information quickly (without changing the context of the screen).
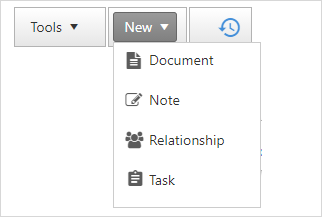
The user can add the following related information to the competitors:
Documents
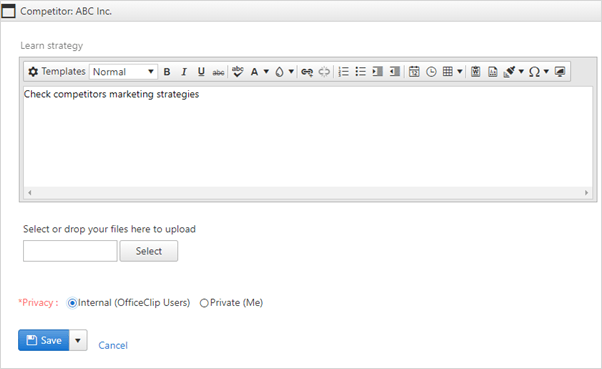
Relevant Documents can be attached to a competitor, allowing to access important information from one place easily.
Upload File: These files can be uploaded from the local disk and will stay with the Competitor. These files are removed when the competitor is deleted.
To Upload file:
- In Competitors, click on the
 icon of a competitor.
 - On the Competitor summary screen, on the top right screen click on New > Documents.
- Click on the Select button.
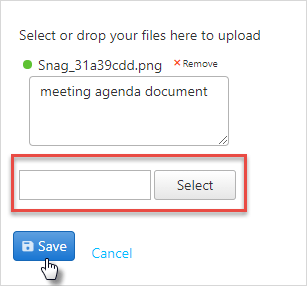
- You can drag and drop a file from your windows explorer application, or you can click the Select button and choose the file from the desired location.
- You can upload more than one document.
- Click Save when finished.
Tasks
See the tasks related to the competitors here. You can also see them in the OfficeClip Tasks application.
To add new Tasks:
- In Competitors, click on the icon of a competitor to add new tasks.
- Click New >
Task.

- Enter the title, description of the task, the type of task, due date and time fixed if any.
- Click Save after you finish adding the task details.
Notes
Notes are encounters with the Competitors. They appear in chronological order and can be public (shown to all the Organization users) or private (seen by the creator only).
Add a Note
- In Competitors, click on the icon of a competitor to add a new note.
- Click New > Notes. The screen appears with the note creation template.
- Enter the title and type your notes in the
Note box and click Spell
Check to identify and correct any spelling errors.
- If you are creating a personal note, click the
Private checkbox. In the Note
List, a lock icon
 is displayed beside the note, indicating that it is a personal note.
A public note will be visible to all the users.
is displayed beside the note, indicating that it is a personal note.
A public note will be visible to all the users. - To add Attachments to the note, click on the Select button and choose the file from the desired location. You can also drag and drop a file in the box from your windows explorer.
- Click Save to save the note in the Note List.
The user can only access personal notes; public notes can be seen by every user in the organization
Relationship
Competitors provide the ability to create arbitray relationships between various entities in OfficeClip.
To add relationship to competitors, first we need to create a relationship. To learn more details on how to create a relationship, click here.
To add relationship to a competitor:
- In Competitors, click on the icon of a competitor to add a new relationship.
- Click New >
Relationship.
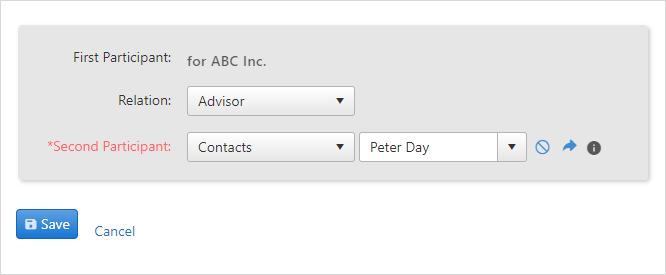
- Choose the
Relationfrom the dropdown list. - Select the
Second Participantand its entity from the dropdown list for which you want to create a relationship. - Click on the icon to view details of contact or account selected.
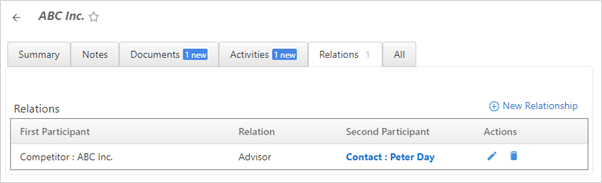
- On the Competitors summary screen, you will see the relationship
created.
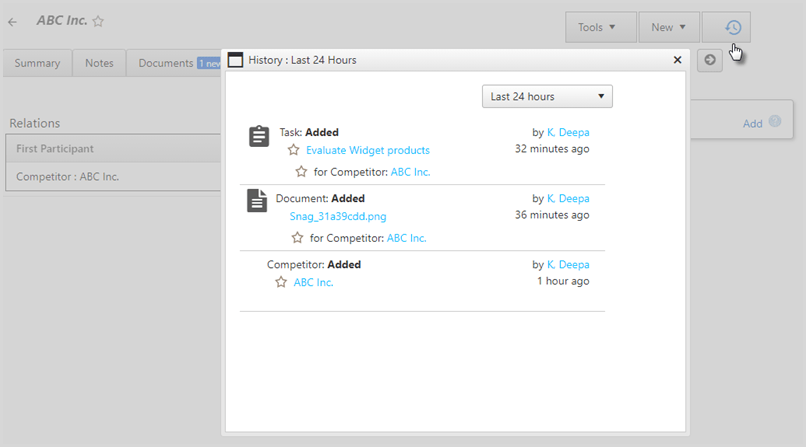
History
OfficeClip keeps track of all the changes made to the competitor record. This includes any modified field, any added notes, etc. This option shows a list of all such changes in chronological order.
The History button next to the New menu helps you to
keep track of the changes made to the competitors at many levels.
Competitor Tags
Tags allow competitors to be organized loosely using various properties. Once tagged, the competitor can be filtered using the Tags. OfficeClip allows two levels of hierarchical tagging.
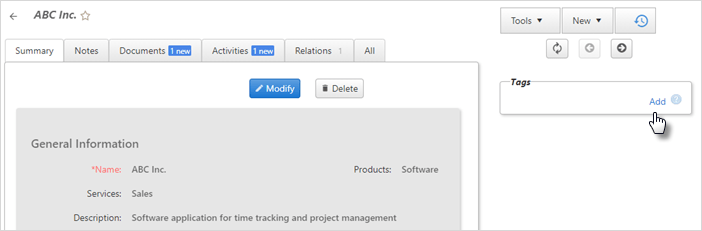
Access Tags by going to the Summary of the
Competitor Detail. Users who have adequate permission
can associate existing tags with the Competitor or can
create new Tags.
To add a tag to a competitor, first we need to create tags. To see more details of how to create a tag, click here.
To associate a tag with competitors:
- Double-click on the
Competitorthat is to be tagged. - On the right side of the Competitor summary, you will see
Tags, click Add.
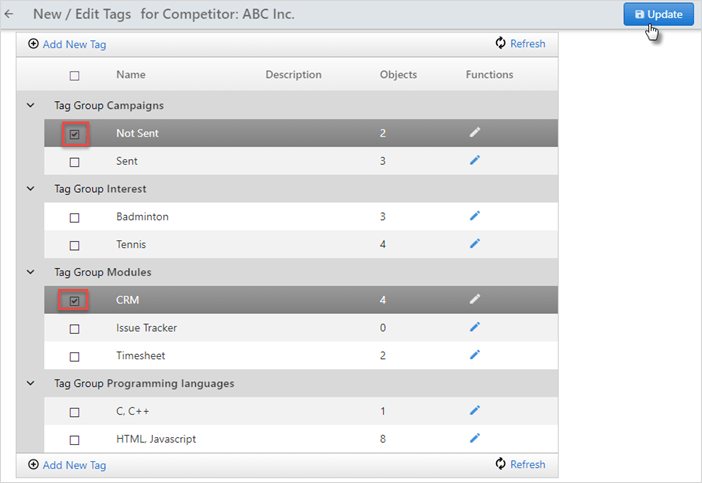
- Check the appropriate box and click Update
.
- In the Competitor Summary, you will be able to see the tag added.
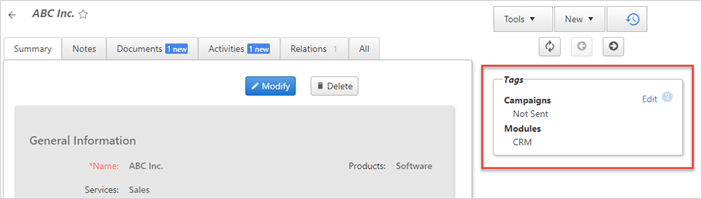
- To edit a tag, click on the Edit button and you can change the tags.
- You can also Delete or Modify tag group and Ungroup tags.
- To delete, ungroup or modify tag group, click
Competitors > Tags.
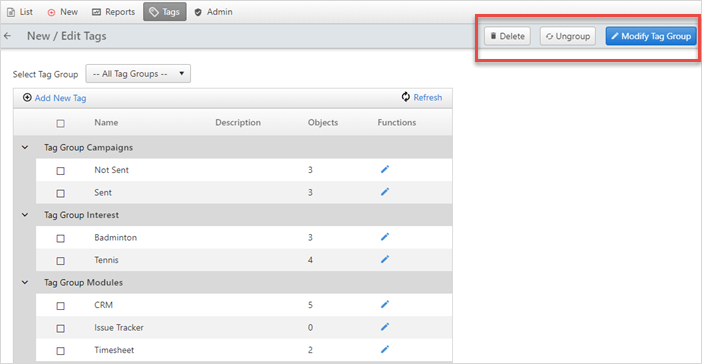
- To Delete a tag, select the tag you want to delete and click Delete.
- To Modify a tag group, select the tags you want to change the group for and click Modify Tag Group. Then, enter the Group name you want to associate with your tag and click Save.
- To ungroup tags, select the tags you want to ungroup and click Ungroup.