Using Invoices
This section describes how to use the Invoices application efficiently.
Click on the Invoices link on the left bar to start the Invoices application.
The Invoice List screen displays all the invoices that are active in the system.
The New Tab allows you to create the new invoice.
The Archived Tab allows you to see only the archived invoices with the status Paid. These archived invoices can be restored if required or can be deleted.
The Billing screen allows import of timesheet, expense, and time tracking information and creation of consolidated invoices for billing.
Creating a New Invoice
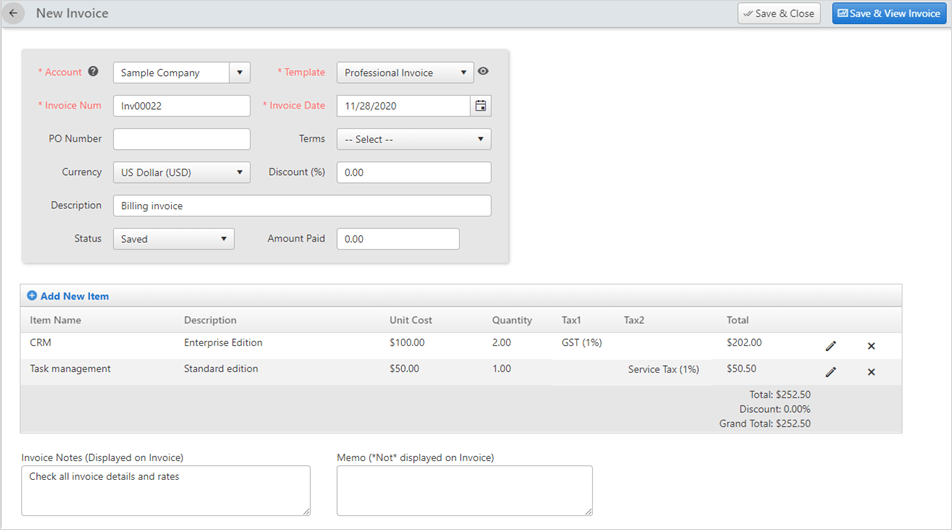
This screen allows you to enter all the details associated with the creation of a new invoice.
To create a new invoice:
Click CRM > Invoices > New Invoice
Invoice Fields
Following fields are used in the invoices:
- Account - Customer name (that is already entered into the system). To learn more details about creating an account for a customer, click here. Select an Account from the dropdown, for which you want to create an invoice.
- Template - Templates allow users to
change the look of the invoice. Currently, the following templates
are supported: Professional Invoice, Service Invoice, Quote, and
Estimate. Click on the
 icon to preview the templates. Select the desired
template from the dropdown.
icon to preview the templates. Select the desired
template from the dropdown. Invoice Number - The unique number for each invoice. The administrator can set the prefix of this number.
Invoice Date - The creation date of the invoice; the default is the current date.
PO Number - The Purchase Order number associated with the invoice.
Terms - Invoice payment terms.
Currency - The invoice currency.
Discount - The discount percentage that applies to the whole invoice.
Description - A single line description that can be used to identify the invoice.
Invoice Notes - This free-form note can be displayed on the invoice so the buyer can see the notes directly on the invoice. The administrator can set a default note using Admin > Profile screen.
Memo - For internal use and not displayed on the invoice.
Invoice Items
To add new items to the invoice click, Add New Item on the New Invoice screen.
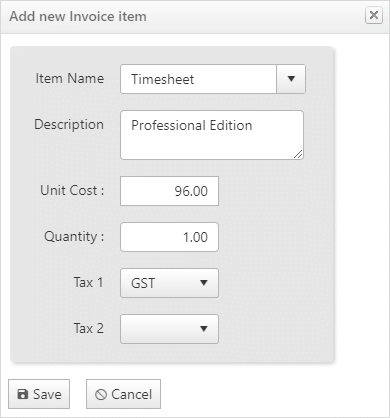
Also, each invoice line item contains the following fields:
Item Name - The name of the invoice line item
Description - A short description of the line item
Unit Cost - Cost of 1 unit of the item
Quantity - Total number of items
Tax 1 - First tax applied to the item
Tax 2 - Second tax applied to the item
Total - The total for the item
The Grand Total of all items is shown at the bottom.
Invoice List
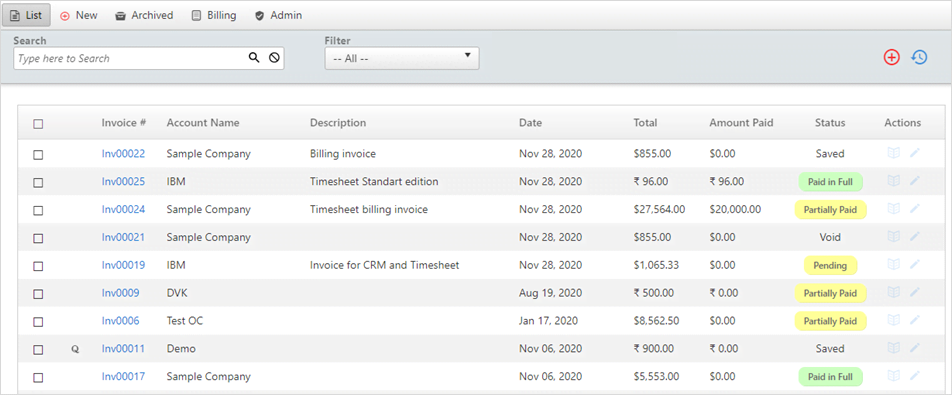
The Invoice List screen shows the list of all types of invoices. You
can search through all your invoices by typing the search string and
clicking on the ![]() icon.
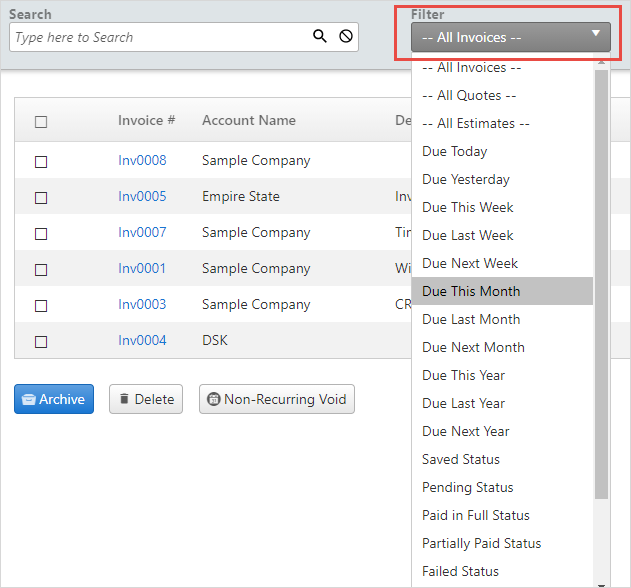
A filter also allows filtering invoices using various predetermined
criteria.
icon.
A filter also allows filtering invoices using various predetermined
criteria.
Search and Filter invoices
In the long list of invoices, search and filter option helps to find the invoices within seconds.
To Search the invoices:
- Type the invoice number, or account name or a keyword from the
description and click on the
 icon.
icon. 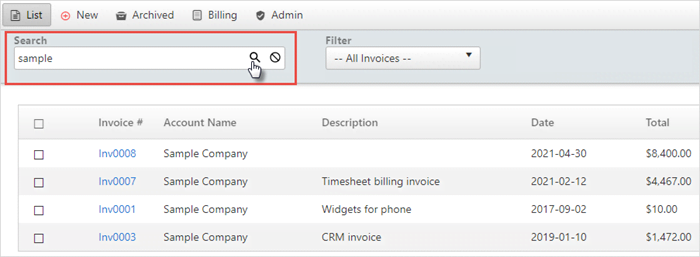
- You will get the desired results.
To search invoices using a filter:
- Click on the filter dropdown. You will see different kinds of
options. Select which kind of invoice you want to view and once the
filter option is selected you will get to see the desired results.
To make search easier you use the search and filter option together:
- Type a keyword or account name in the search box and select a
filter, you will get to see the desired results.

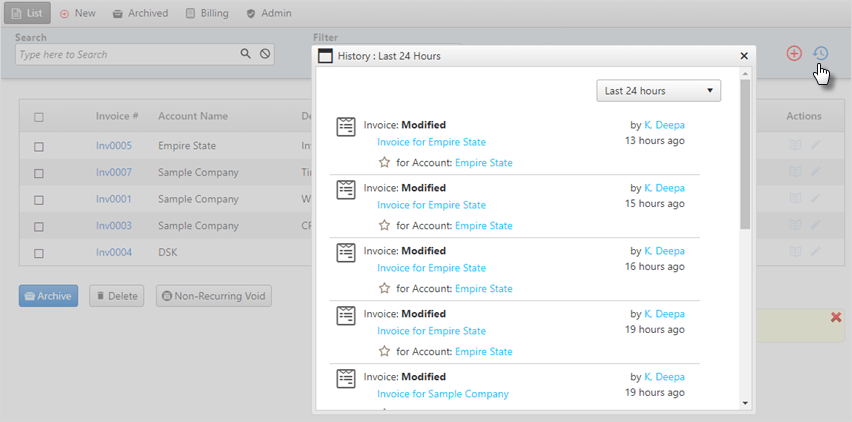
History
The history button on the top right of the main screen helps to keep track of what your team is working at many levels.
When you click on the History button on the list screen of invoices or inside an invoice, you will be able to see the changes made to the invoices.
To learn more details about the history button, click here.