Add/Edit Custom Fields for Timesheet
To make timesheet more user-friendly and to meet organizational requirements, OfficeClip timesheet allows you to create custom fields. Custom fields can be added for Timesheet row, Timesheet details, or for a Timesheet.
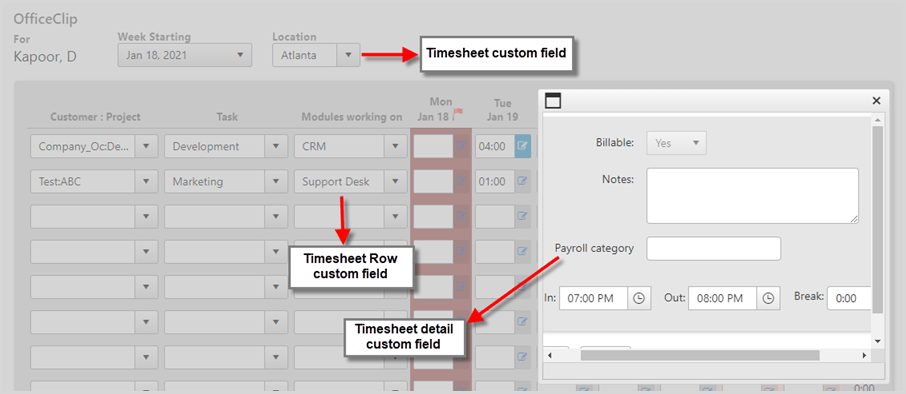
There are three types of custom fields:
- Timesheet Custom Fields: These fields are set for the entire timesheet. For example, you can use it to create separate timesheets for different locations.
- Timesheet Row Custom Fields: These fields are set for the entire row of the timesheet entry screen.
- Timesheet Details Custom Fields: It can be set for each timesheet detail entry.
To create custom fields:
- Click HRM >
Timesheet > Admin >
Custom Fields.
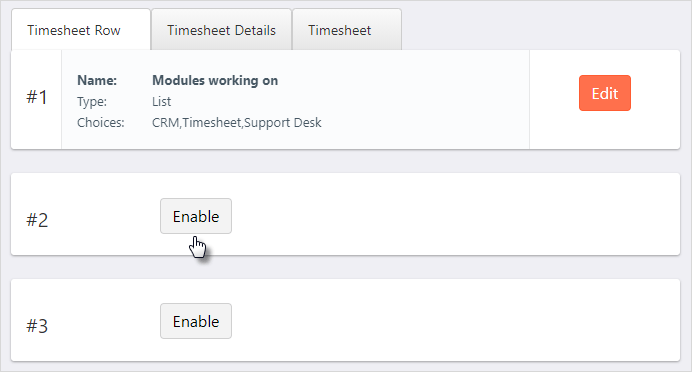
- Select the section for which you want to create a custom field.
- Click the Enable button.
- For creating Text Field:
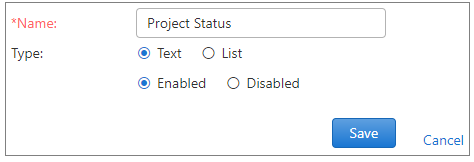
- Select the Text option.
- Enter the field name.
- Select whether the field should be Enabled or Disabled.
- Click the Save button.
- For creating a list field:
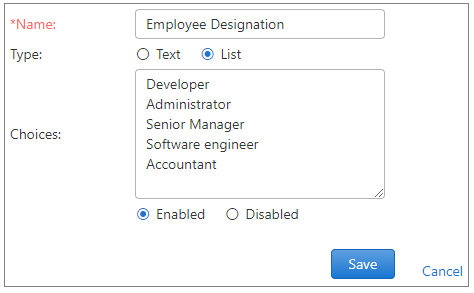
- Select the List option.
- After selecting the list option, enter the field name.
- Enter the choices required in the list field.
- Select the Enabled or Disabled option for the field.
- Click the Save button.
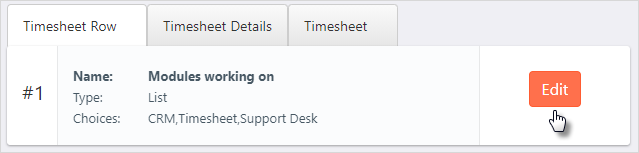
- To make changes to the custom fields, click the
Edit button.
See this blog post to learn more about timesheet custom fields.