Setting up the Timesheet Profiles
The Timesheet application allows you to set up various timesheet properties according to the requirements:
To modify various items within the timesheets:
Click HRM > Timesheet > Admin > Profiles.
Select the options according to your preference from the specified drop-down lists for the following characteristics:
Mode
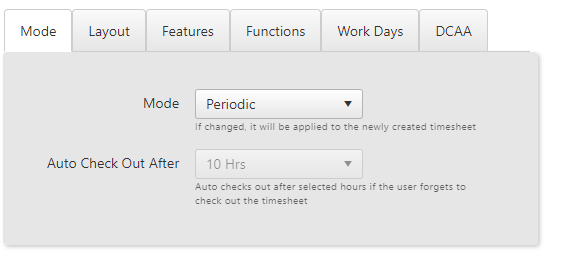
Mode: Allows the user to select the mode to Periodic timesheet or In/Out timesheet.
Auto check out : If the users forgets to check-out in the timesheet, the timesheet is automatically checked out after 10 hrs or 12 hrs as set by the administrator.
- Click Save button to save the changes.
Layout

No. of Rows in Timesheet: The number of rows that are shown in the timesheet.
Rows and Columns totals: Whenever time is entered, rows and column totals are automatically calculated and displayed.
Timesheet Header: Shows at the top of the timesheet.
Timesheet Footer: Shows at the bottom of the timesheet.
- Click Save button to save the changes.
Features
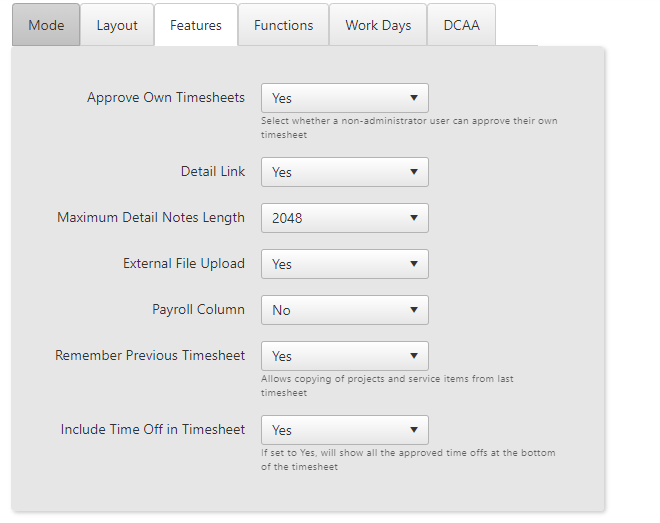
Allow users to approve their own timesheet: If set to manual workflow, users will be able to approve their own timesheet
Show detail link on weekly timesheet: An option to show the detail hyperlink on the weekly timesheet.
Detail notes length: The number of characters that you can enter in the details link of each item.
Allow external file upload: An option to allow file or image attachment on the weekly timesheet.
Show Payroll Column: Displayed on the new timesheet screen.
Remember Previous Timesheet: Allows customer, projects, service items etc. to be transferred from the previous week timesheet. This helps quickly filling in the timesheet if the employee works on same projects for many weeks.
Include Time Off in Timesheet: Allows to view the approved time off of an user in the timesheet.
- Click Save button to save the changes.
Functions
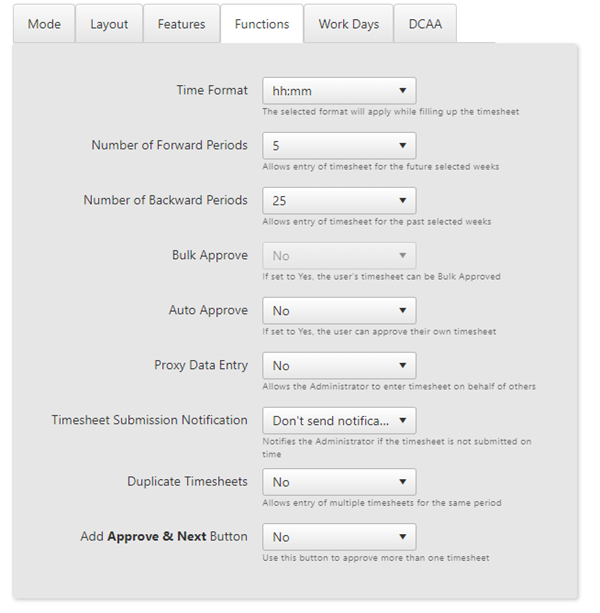
Select Time Format: The time format applied in the time entry screens.
Number of forward periods: The number of starting dates a user will be able to choose to create a new timesheet.
Number of backward periods: The number of past dates a user will be able to choose to create a new timesheet.
Enable Bulk Approve: Allows timesheets to be approved in bulk by supervisor. The bulk option is disabled if the DCAA mode is set to Yes.
Enable Auto Approve: Allows some timesheets to be approved automatically without going through normal approval process.
Allow Proxy Data Entry: Allows administrators to enter timesheets on behalf of others.
Timesheet Submission Notification: Allows automated notifications to be sent when the users have not created the timesheet on time.
Allow Duplicate Timesheets: Allows duplicate timesheets to be created for the same period.
Add Approve and Next button: The user can use this button if there are more than one timesheets to be approved.
- Click Save button to save the changes.
Workdays
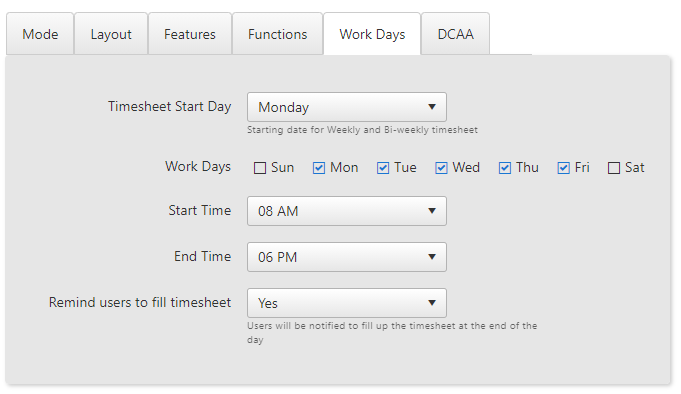
Timesheet Start Day: The user can set the start day for the Weekly or Bi-weekly timesheet.
Work Days: Allows to check mark the work days in an organization.
Start Time: The user can set the start time of working days of an organization.
End Time: The user can set the end time of working days for an organization.
Remind Users to fill timesheet: Users will receive a notification to fill up the timesheet at the end of the day(consider the end time set for an organization), if a timesheet is not filled up. If a Time Off is approved for a particular user, then on that day he will not receive a notification to fill up the timesheet.
- Click Save button to save the changes.
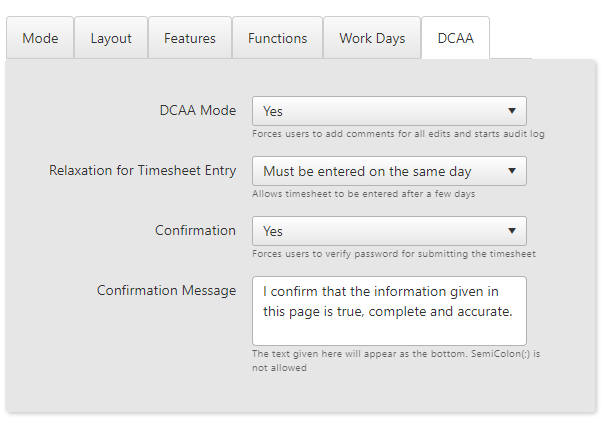
Enable DCAA Mode: Users will be forced to add comments for each edit, all timesheet history will be recorded.
Relaxation for Timesheet Entry: Relaxes the restriction that users will need to complete the timesheet on the same working day. Administrators can select how many days relaxation would be allowed.
Confirmation: User is forced to verify the password before submitting the timesheet.
Confirmation Message: This messages is displayed while entering the password before submitting the timesheet.
Click Save button to save all the changes or click Save & Next to save and move to the next section of Admin.
To go back to the timesheet list screen, click on the ![]() icon.
icon.