Reports Management for Contacts
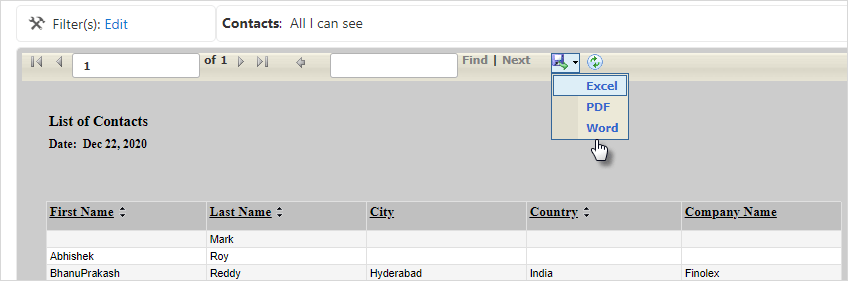
Reports have a similar interface to filters. Filters display information according to selected criteria, while reports allow field information groupings as well as numeric field summaries. Results can also be saved or printed and exported into many popular formats such as MS Word and Adobe PDF. Controls on the screen allow users to scroll forward and backward on the page through the report results, search for an item in the report, and zoom in and out on the report.
Reports allows you to see all the opportunities and all potential sales opportunities, along with the customer data, employees work allocation, details of project, budgets etc. which will help your sales team to plan projects, budget and allocation of work and resources accordingly.
Users can generate a variety of reports for the Contact Manager:
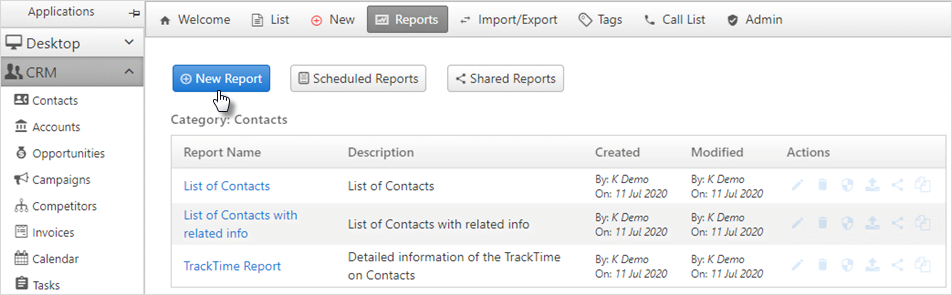
Category: Contacts
List of Contacts: It shows all the list of contacts.
List of Contacts and Children: It shows the list of contacts and children.
Track Time Reports: It shows the detailed information of the track time of Contacts.
Category: Organization
Employees: It shows the list of employees or users and their information.
Holidays: It shows the list of holidays.
Category: Project
Project Allocation: It shows the allocation of projects to the employees.
Project Rates: It shows rates per employee per customer.
Creating Reports
To create new reports:
- Click CRM >
Contacts > Reports
> New Report.
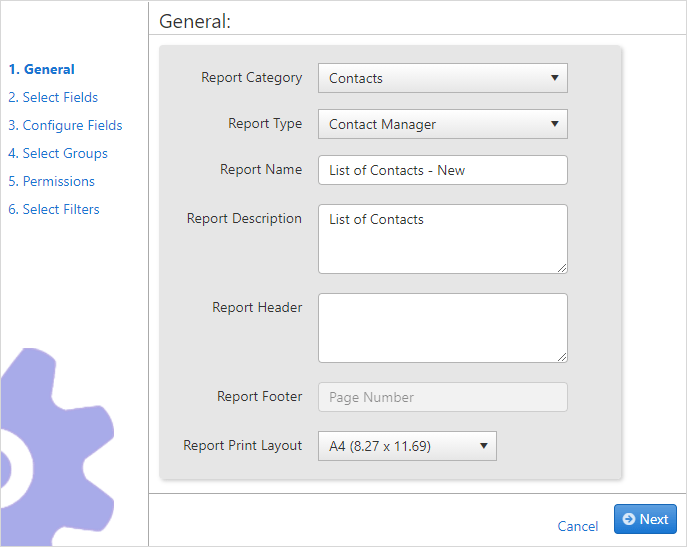
- In the Report General, fill up the report
category, report type, description and report header. Then click
Next.
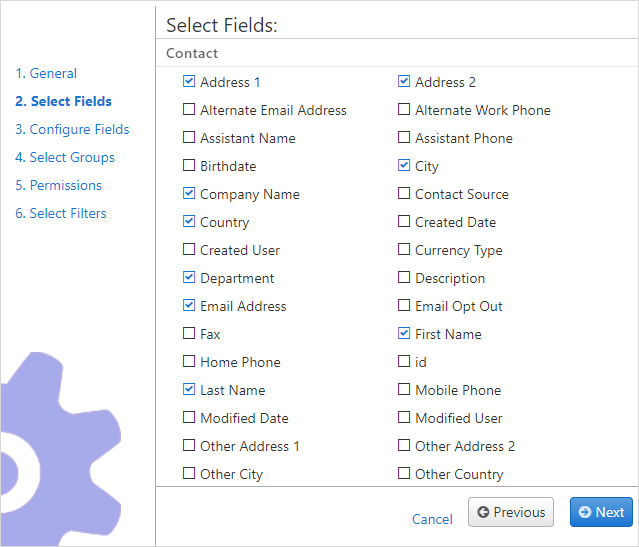
- In Select Fields, the fields are columns in
the report. This user interface allows selection of the fields you
want to display in the reports. Attention:
If the number of fields selected is more than the page size permits, the additional fields will run over to the next page.
- In Configure Fields, the user can rename
the fields in the Display Name column according to their requirements.
Click
 or
or buttons to move the fields up or down the list,
determining their order as you want it to display in the report. Click
Next.
buttons to move the fields up or down the list,
determining their order as you want it to display in the report. Click
Next. 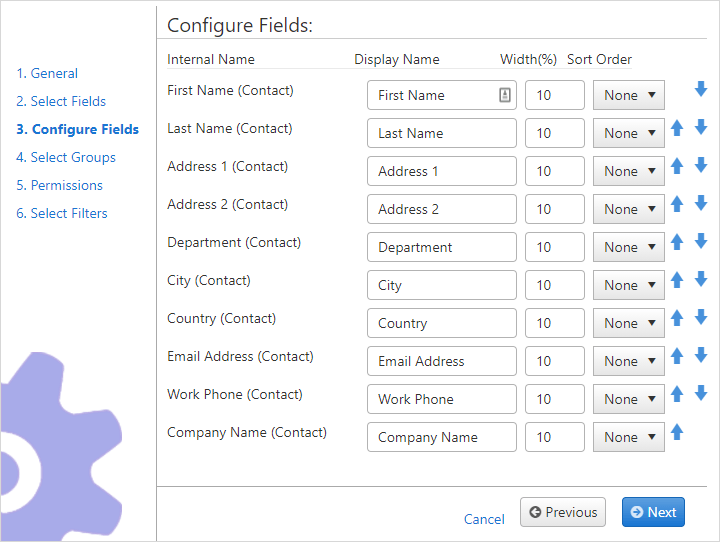
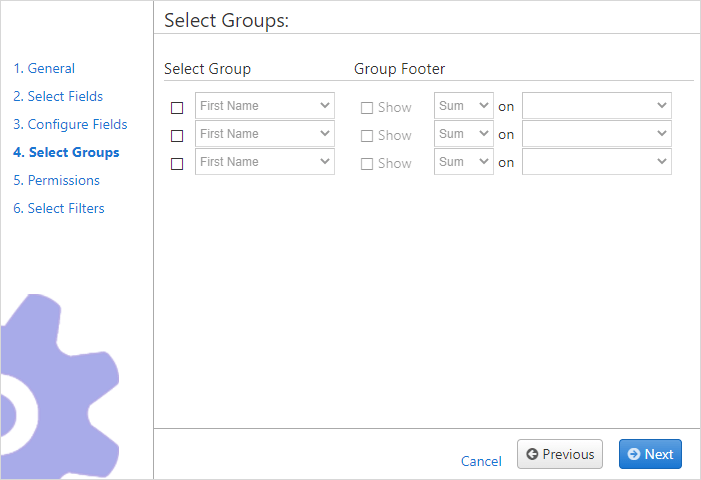
- In Select Groups, you can set up the groups
for various columns in the report. For example, Project or Task Name,
the total number of hours, and count of the users are groups. Group
totals can also be added at the bottom of the groups. Click
Next.
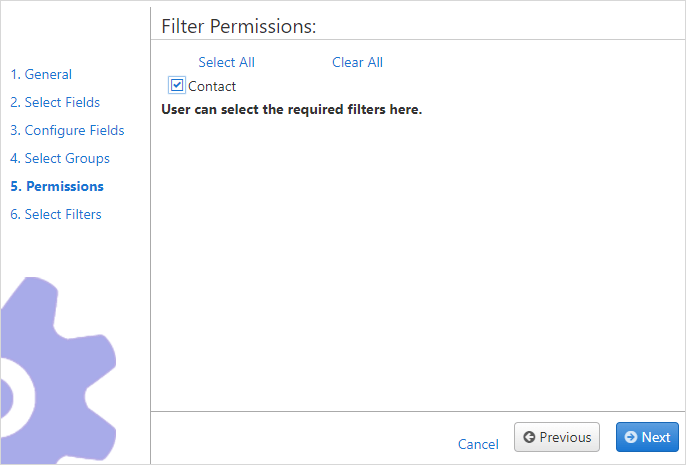
- In Permissions, customer portal users with
access to shared reports can select filters only specified in the
Permission screen. This feature allows
OfficeClip administrators to share reports, yet restrict data by
limiting filters to a certain subset of data. Click
Next.
In Select Filters, you can create a customized search based on selected criteria that you define. After a filter is created, it is saved for future use. Filters allow you to save time by creating a category to sort through your contacts and the fields you want to filter.
To see the detailed description of how to create a filter click here.
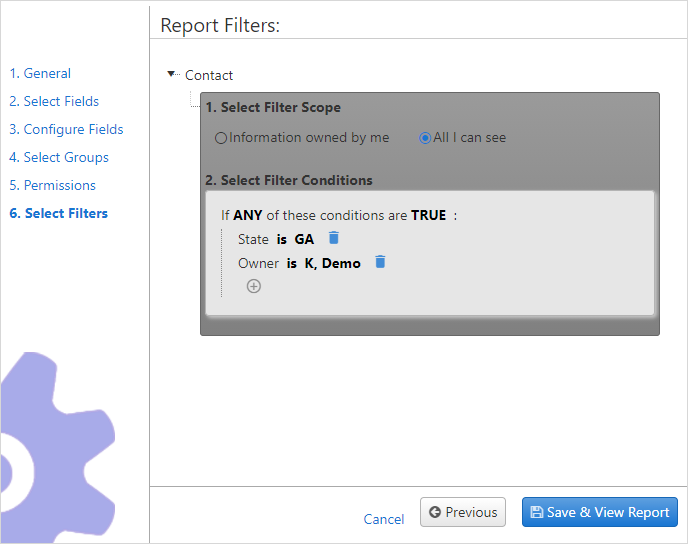
- After selecting all the criteria, click on Save and View Report to view the report.
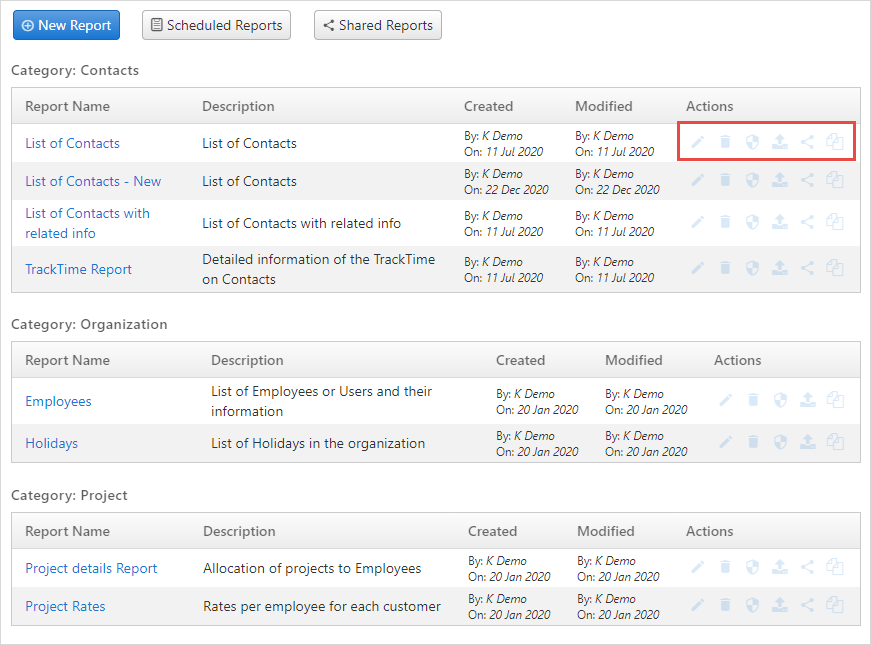
Viewing Reports
To view the Reports:
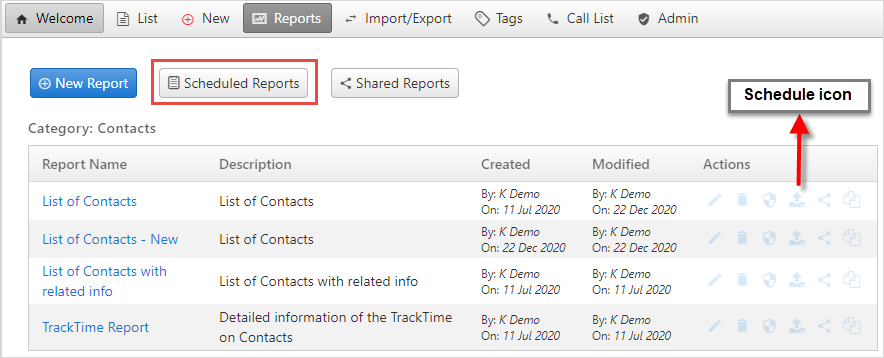
Click CRM > Contacts > Reports.
You can see the list of reports. Click on the report you want to view.
- You can also Edit,
Delete, Copy,
Share, Schedule and
Change Permissions of the reports with the
icons from the Actions column.
The users can also export reports to various formats like Adobe PDF (.pdf), Microsoft Word (.doc) and Microsoft Excel (.xls). Click on a report and then select a format from the toolbar to preview the report.
To see the detailed description of how to edit, delete, change permissions, for a report, click here.
Scheduling Reports
Reports can be scheduled so that they can be run at predetermined
times and emailed to OfficeClip users. To view, the Scheduled reports
click on the ![]() scheduled
reports icon above the list of reports.
scheduled
reports icon above the list of reports.
To schedule reports:
- Click on the Schedule icon in the
Actions column.
- Enter how you want to schedule your report: daily, weekly or
monthly.
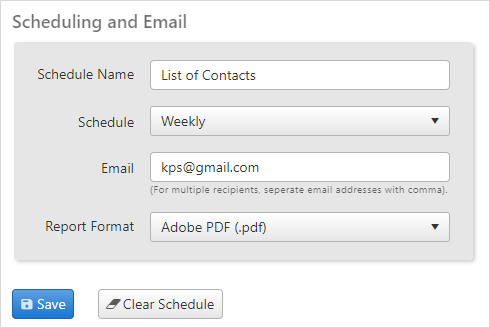
- Enter the email address of the recipient to whom the report is to be sent and the report format.
- After finishing, click Save.
- To enter a New Schedule, click Clear Schedule to delete the old Report Schedule.
Sharing Reports
These reports are shared with the customer portal users. Such users
can only view reports in a restricted fashion (based on the filters they
have been permitted to use). Shared reports can be used to empower your
customers, partners, and service providers to create reports for their
specific use based on the data they are allowed to access. To view the
Shared reports click on the ![]() shared reports icon above the list of reports.
shared reports icon above the list of reports.
To share a report, click on the ![]() icon on the report row in the actions column.
icon on the report row in the actions column.
To see the detailed description of how to share reports, click here.
Scheduled Reports
Scheduled reports display the list of all the reports scheduled at predetermined intervals to be emailed to OfficeClip users.
To see the detailed description of how to check the scheduled reports, click here.
Shared Reports
Shared reports show the list of all the reports which can be edited.
To see the detailed description of how to check the list of shared reports, click here.
Report Permissions
Roles and individual users can fine-tune report access permissions. To change report permissions:
Click the
 icon under the actions column.
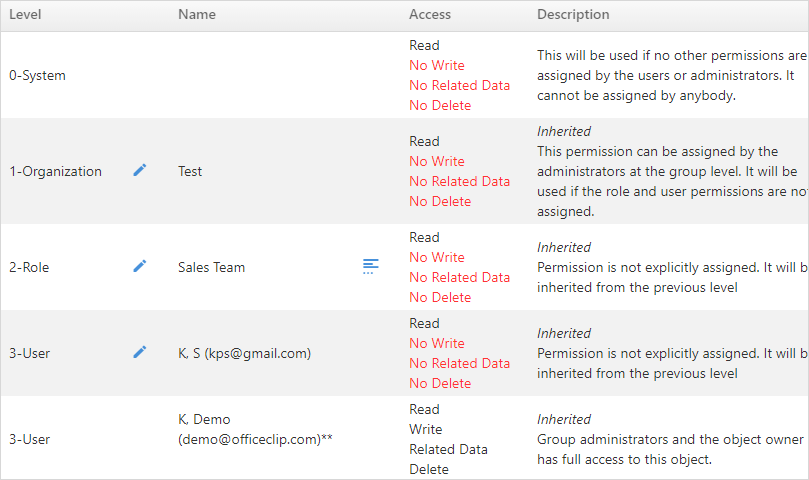
In the screen that pops up, you can see the access or permissions that various users have, and you can change the access by clicking the
 icon to the
left of the username.
icon to the
left of the username.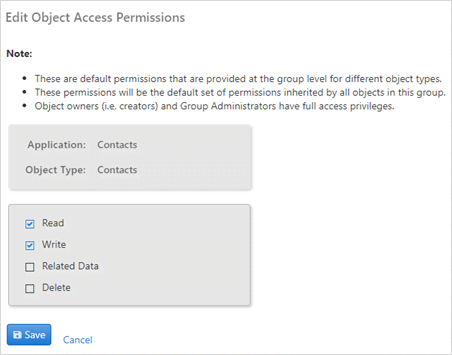
Check the appropriate boxes based on the permissions needed and click Save when finished, or Cancel to return to the previous screen.
To see the users for a user-defined role, click the
 icon next to the role you want to view.